
WHAT IS A WORDPRESS POST?
Think of a post like a journal entry. Posts are published with time and date in mind, so that the most recent entries appear first.
WHAT TYPE OF CONTENT SHOULD I ADD TO A POST?
Given we are creating a birthday site you can get creative with your posts. They can be comprised of video, photographs, audio files and text.
HOW DIFFICULT ARE POSTS TO MANAGE?
If you can type and follow some simple instructions, you can create a post. It’s easy, so let’s get started!
POSTS OVERVIEW: From the WordPress Dashboard, navigate down the left side menu until you see “Posts” and click on it.
You will see a table with a post, the title of which is “Hello world!”. This is the default post that WordPress installs. It’s also the sole post that is being displayed under the “Latest News section” of our webpage currently.
Take a minute to look at the other headings in the Post table. Alongside the Title, there are headings for Author, Categories, Tags, an icon of a Speech Bubble and Date heading.
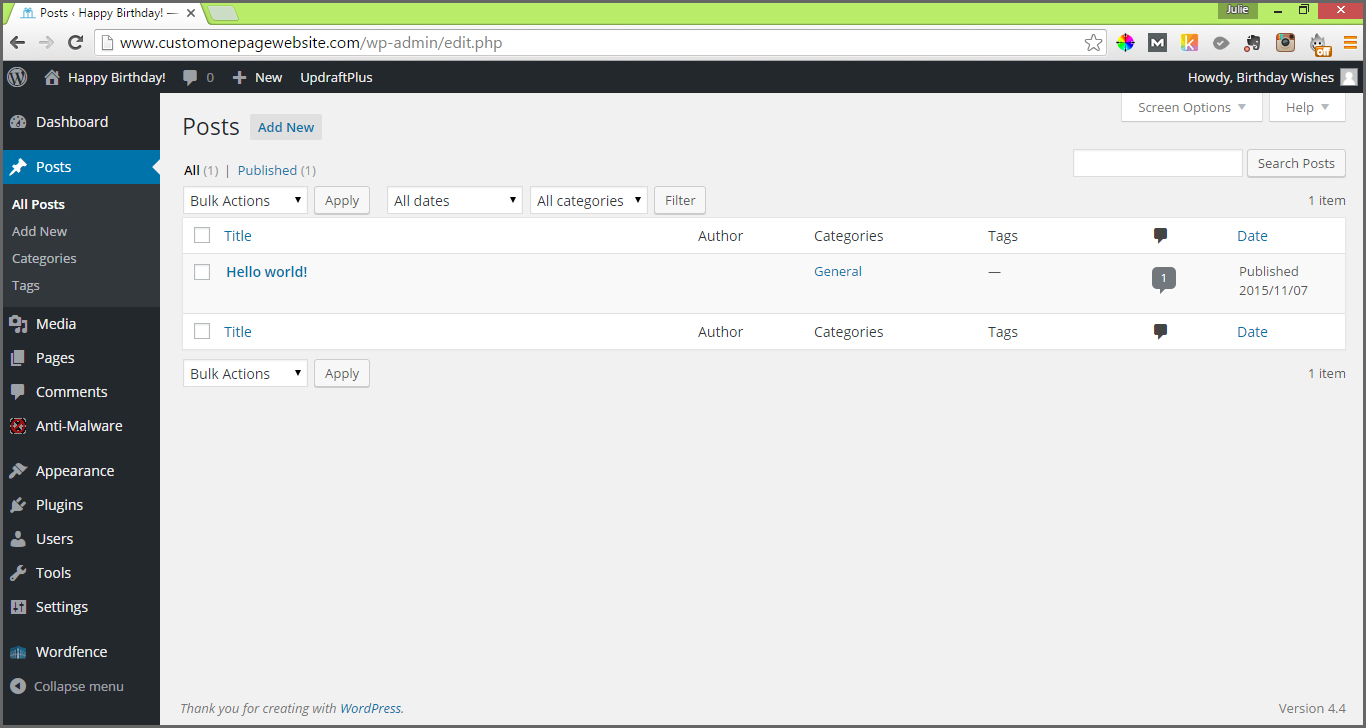
The Author name and Date will be published with the post. You can filter these later (i.e. view all the posts by a particular author or see all of the posts that were published in a particular month).
The Categories and Tags provide additional methods of filtering. For example, you could create a Category called “Birthday Celebrations” and add applicable posts to that category. Family members visiting the site will be able to quickly access specific content if you have organized it with Categories and Tags.
The Speech Bubble icon displays the number of comments that have been submitted about a post.
You will notice that if you mouse over the “Hello world!” title in the table that you will see a sub menu of items pop up underneath it; Edit, Quick Edit, Trash and View.
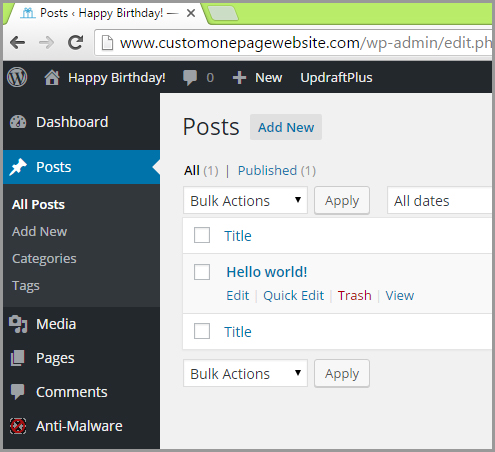
Clicking on the “Hello world!” title itself or clicking the “Edit” link will take you to the full post editor.
“Quick Edit” lets you modify page details such as title, date, author and category.
“Trash” lets you delete the post.
“View” displays the full post. You’ll have to click on the “Happy Birthday” logo and scroll to the bottom of the page to view the lead in post summary under the “MORE BIRTHDAY LOVE!” heading (or whatever you called it).
HOW TO CREATE A POST
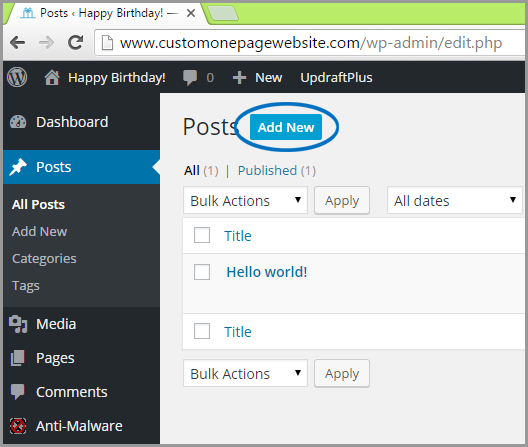
1. ADDING A NEW POST: At the very top of the “Posts” page, click on the button that says “Add New”.
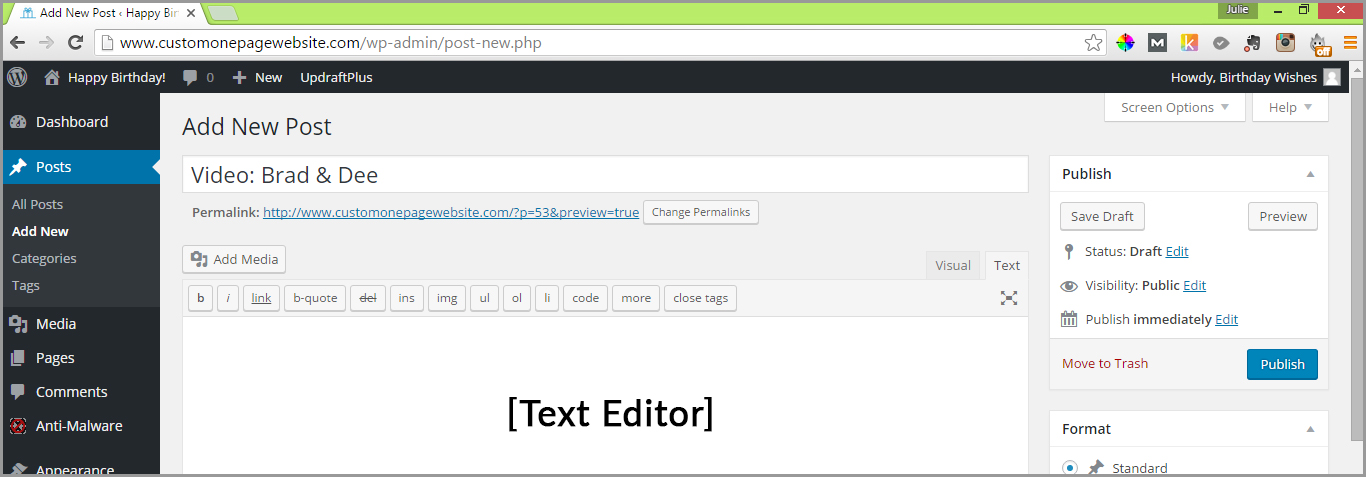
The “Add New Post” page will show your cursor flashing in a field. This is where you should enter the title of your post. I’m just going to title my first post “Video: Brad & Dee” so it’s obvious to my Mom what the post is about.
You’ll note that there is a large text box with icons above it similar to word applications you may have used. This is called a WYSIWYG editor (What You See is What You Get). The difference between the WordPress editor and other Word applications is that you have a limited number of editing options. For example, you can make a font bold or italic, but you aren’t able to change the typeface of the font. This is so that the design format of the theme is kept intact.
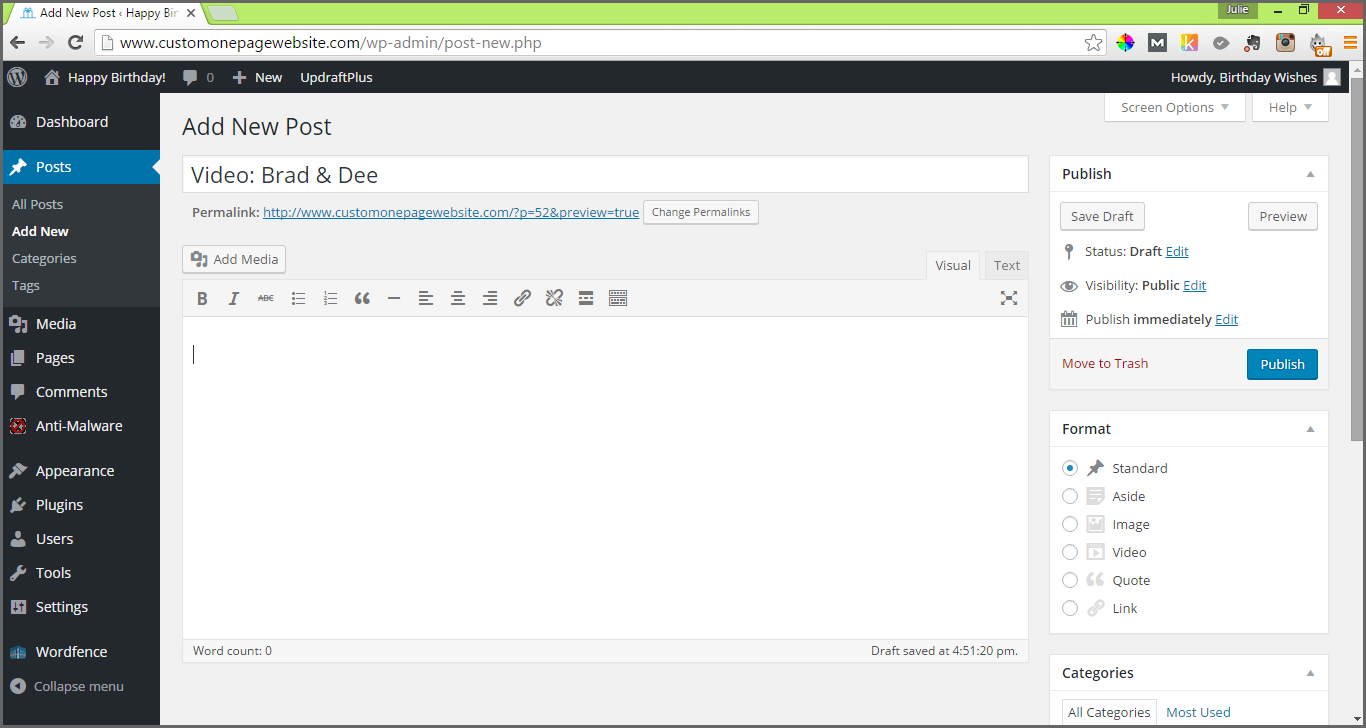
2. ADDING TEXT: To add text in a post, click your cursor inside the editor box. Hover over the icons to see formatting options (i.e. bold, italic, bullets, block quote, etc.).
![]() = Bold
= Bold
![]() = Italics
= Italics
![]() = Strikethrough
= Strikethrough
![]() = Bulleted list (See details below)
= Bulleted list (See details below)
![]() = Numbered list (See details below)
= Numbered list (See details below)
![]() = Blockquote (This will indent and italicize your highlighted text)
= Blockquote (This will indent and italicize your highlighted text)
![]() = Horizontal line (Hit ENTER before and after adding this element)
= Horizontal line (Hit ENTER before and after adding this element)
![]() = Align left
= Align left
![]() = Align center
= Align center
![]() = Align right
= Align right
![]() = Insert/edit link (See details below)
= Insert/edit link (See details below)
![]() = Remove link (See details below)
= Remove link (See details below)
![]() = Insert Read More tag (This will change how much text your blog page displays with a read more link)
= Insert Read More tag (This will change how much text your blog page displays with a read more link)
![]() = Toolbar Toggle (Click to produce an additional row of formatting options. See icons below.)
= Toolbar Toggle (Click to produce an additional row of formatting options. See icons below.)
2nd ICON ROW
![]() = Drop menu containing various heading sizes
= Drop menu containing various heading sizes
![]() = Underline (I don’t recommend ever using this formatting option online, as underlines get confused with web links)
= Underline (I don’t recommend ever using this formatting option online, as underlines get confused with web links)
![]() = Justify
= Justify
![]() = Text color
= Text color
![]() = Paste as text (Use this for pasting text from another application, such as Microsoft Word)
= Paste as text (Use this for pasting text from another application, such as Microsoft Word)
![]() = Clear formatting (This will remove formatting that you have applied or that has been imported with text you have pasted from another application)
= Clear formatting (This will remove formatting that you have applied or that has been imported with text you have pasted from another application)
![]() = Special character (© ® ™ )
= Special character (© ® ™ )
![]() = Decrease indent
= Decrease indent
![]() = Increase indent (Can be used in a bulleted list)
= Increase indent (Can be used in a bulleted list)
![]() = Undo
= Undo
![]() = Redo
= Redo
![]() = Keyboard Shortcuts
= Keyboard Shortcuts
FORMATTING TEXT: highlight the text you would like to format then click the icon that of the formatting attribute you would like.
TO CREATE BULLETS: hit the ENTER key first to add a paragraph and then choose one of the bullet icon styles (i.e. solid bullets or numbers). After every bullet hit the ENTER key to add another bullet. To complete the set of bullets hit the ENTER key TWICE.
TO ADD LINE BREAKS: hold down the SHIFT key while you press ENTER. For a paragraph, hit the ENTER key.
3. ADDING MEDIA: You can upload video, photos and graphic images into your post directly via the “Add Media” icon. Once you’ve clicked on the “Add Media” button the process is the same as you executed for previous file uploads.
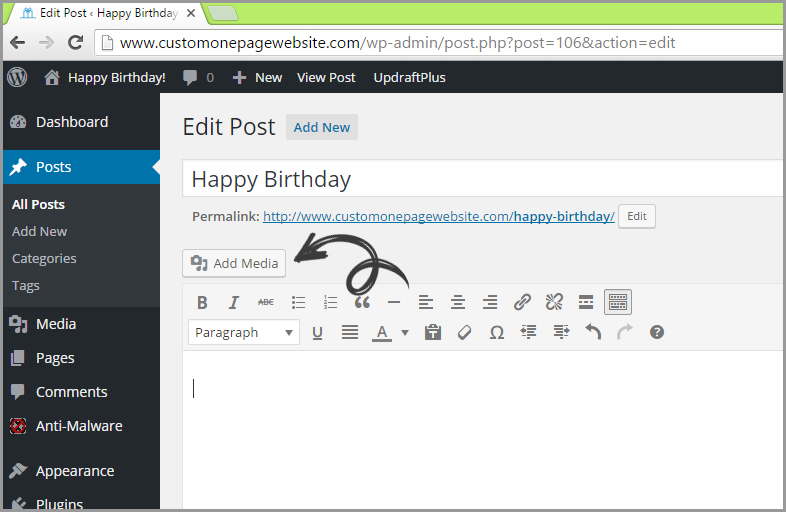
If you’ve chosen to add an image, click on it once it’s inside the editor and a row of icons will appear that provide editing options.
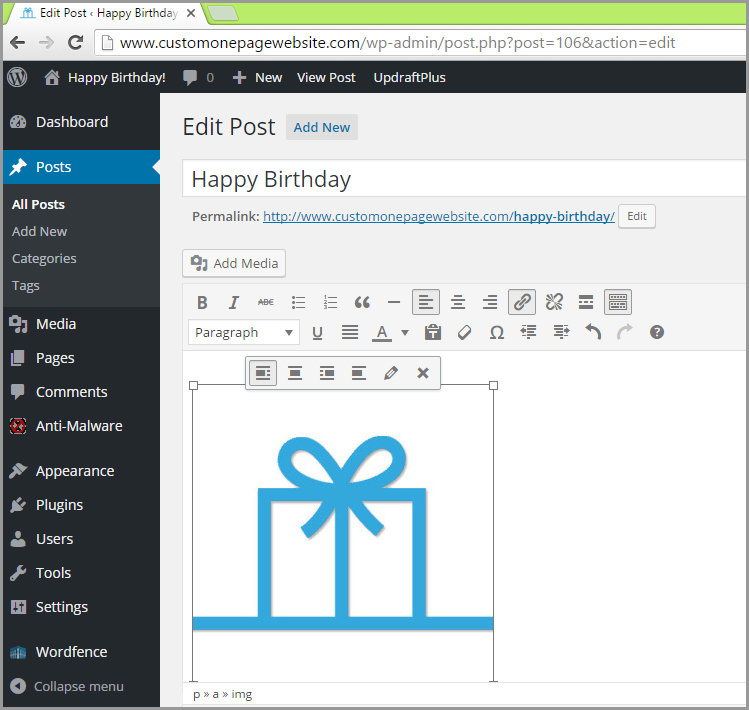
The first four icons provide options for aligning your image within the page (i.e. left, center, right, or no alignment).
Clicking the ‘x’ on the far right will remove the image from the page.
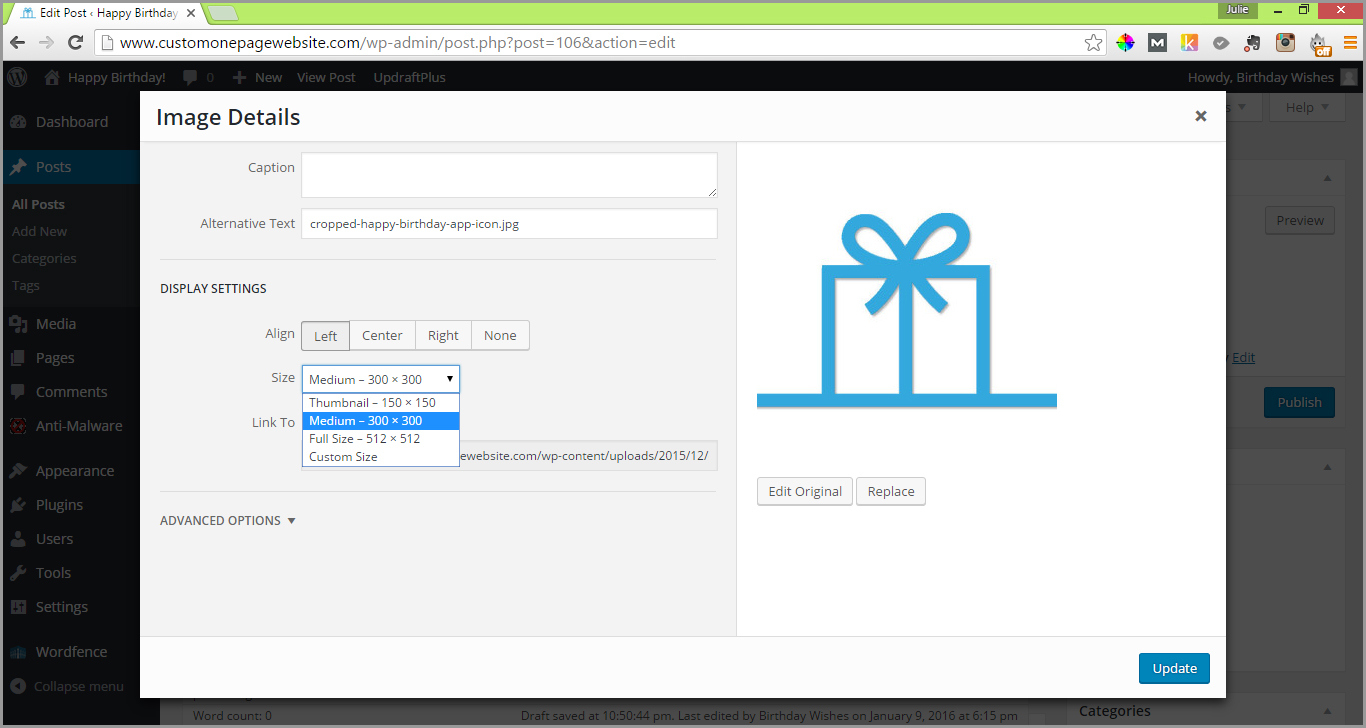
The pencil icon ![]() allows you to add a caption to the image and modify the alternative text for the image (This is text that displays if you hover over the image. It’s also used to describe the image in text only browsers and is important for SEO if you create a business related website.). You can also align the image from here, change the size of the image being displayed and add a link to a file or URL.
allows you to add a caption to the image and modify the alternative text for the image (This is text that displays if you hover over the image. It’s also used to describe the image in text only browsers and is important for SEO if you create a business related website.). You can also align the image from here, change the size of the image being displayed and add a link to a file or URL.
YOUTUBE VIDEO’S: While you may upload video directly through WordPress, YouTube’s hosting environment is specifically configured to stream video so that it will load and play much faster. Therefore, if you would like to include video content in your site, recommend signing up for a free YouTube account and upload your video content there for streaming. You can then embed the YouTube video link(s) in your site. You can also create video content on the fly with YouTube’s free tools, which is a great feature.
If you decide to upload your video content to YouTube (or want to share a video that’s already on YouTube) and embed the link in your site you will need to copy the Video URL to your clipboard.
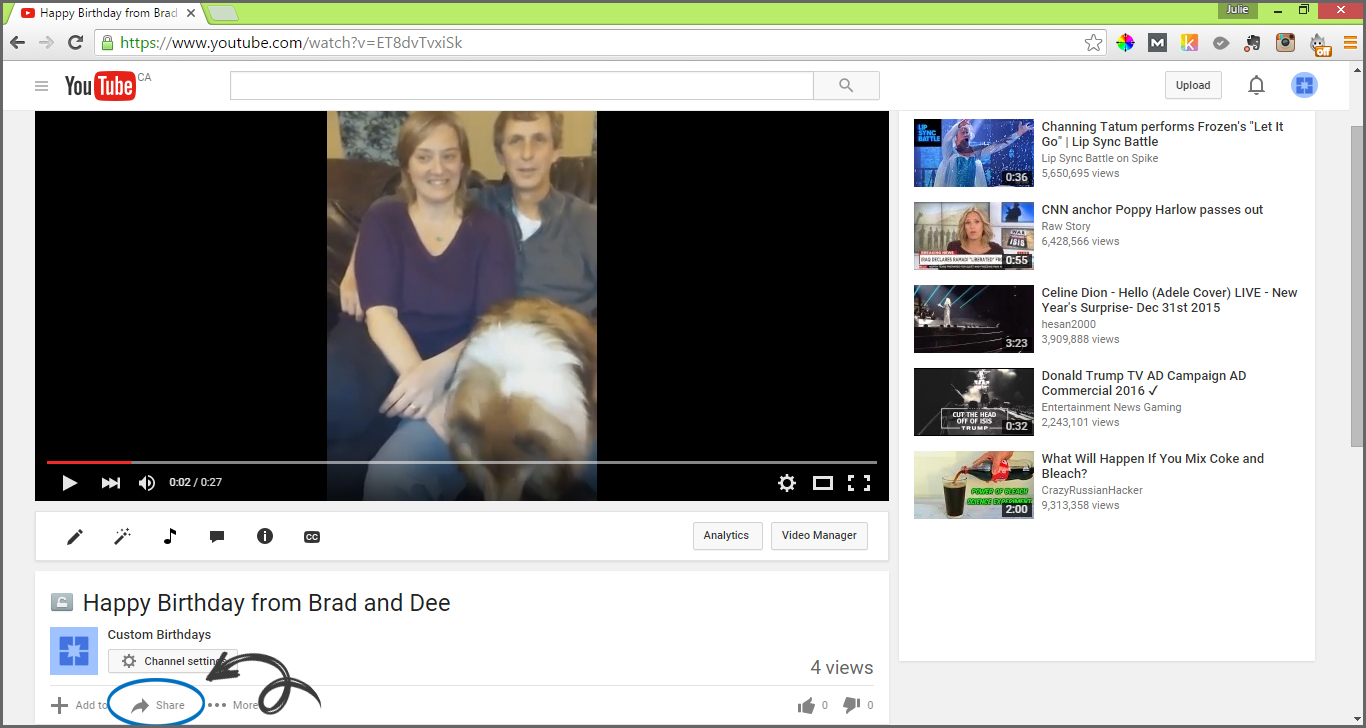
Click on the “Share” link under the YouTube video. It will open a new section that provides options for sharing to various social media channels along with a link. We want the code that enables us to embed the link in the page, so click on the “Embed” link.
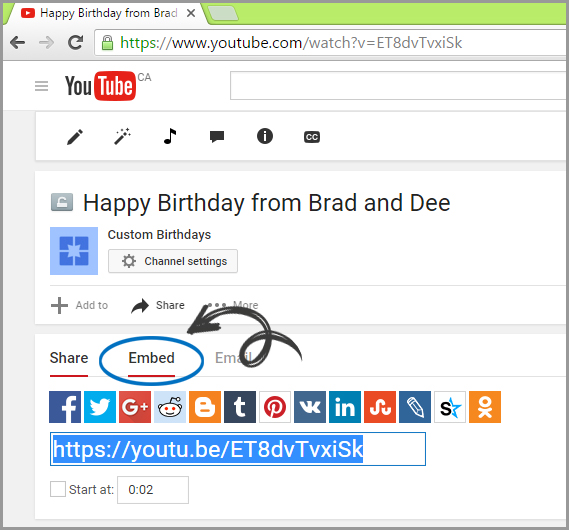
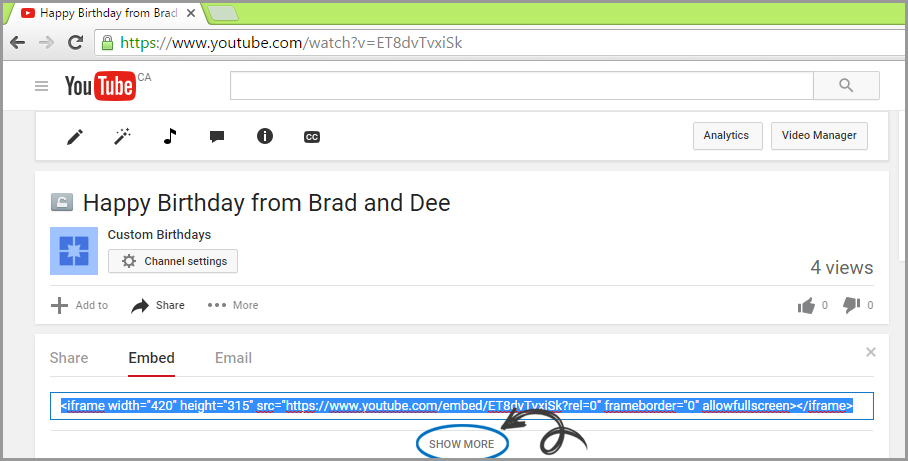
You will see a long blue highlighted link and under it a small “SHOW MORE” link. Click the link.
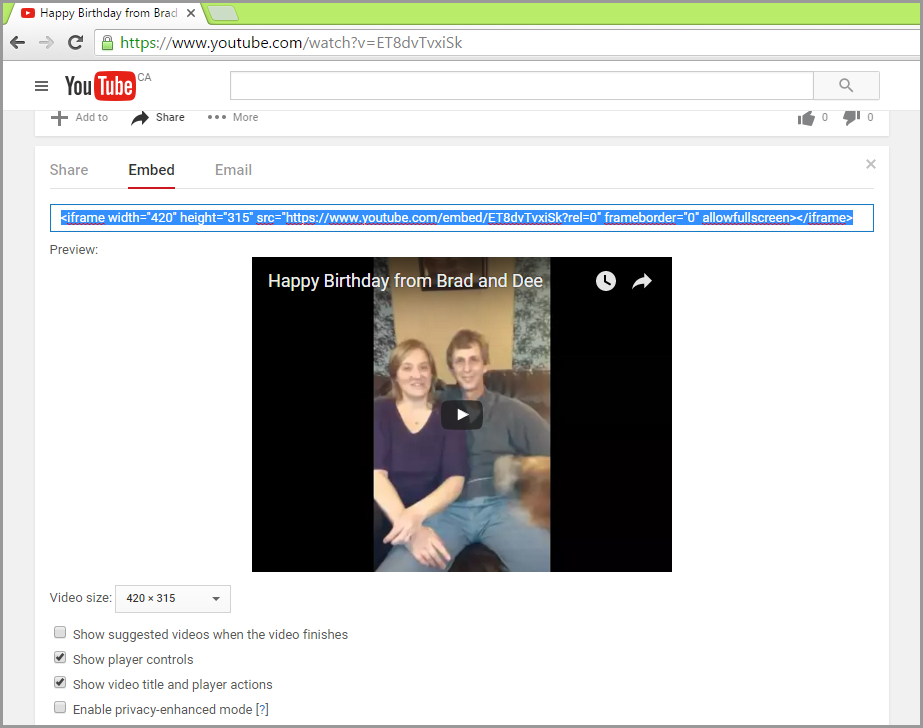
You will now see a preview of the video as it will be shown embedded. Under the preview are options for changing the display size of the video, and check boxes for various options. Make sure the check box for “Show suggested videos when the video finishes” is NOT checked.
Highlight the link by clicking at the end of it in the field, holding the left mouse button down and dragging your mouse to the first character (the entire link should now be highlighted in blue). Now hold down the CTRL button on your keyboard while also hitting the letter ‘c’ on your keyboard (just one of several ways to copy data to the clipboard).
Now, let’s return to the new post we’ve titled in our WordPress admin. There are two tabs on the top right of the WYSIWYG editor; “Visual” and “Text”:
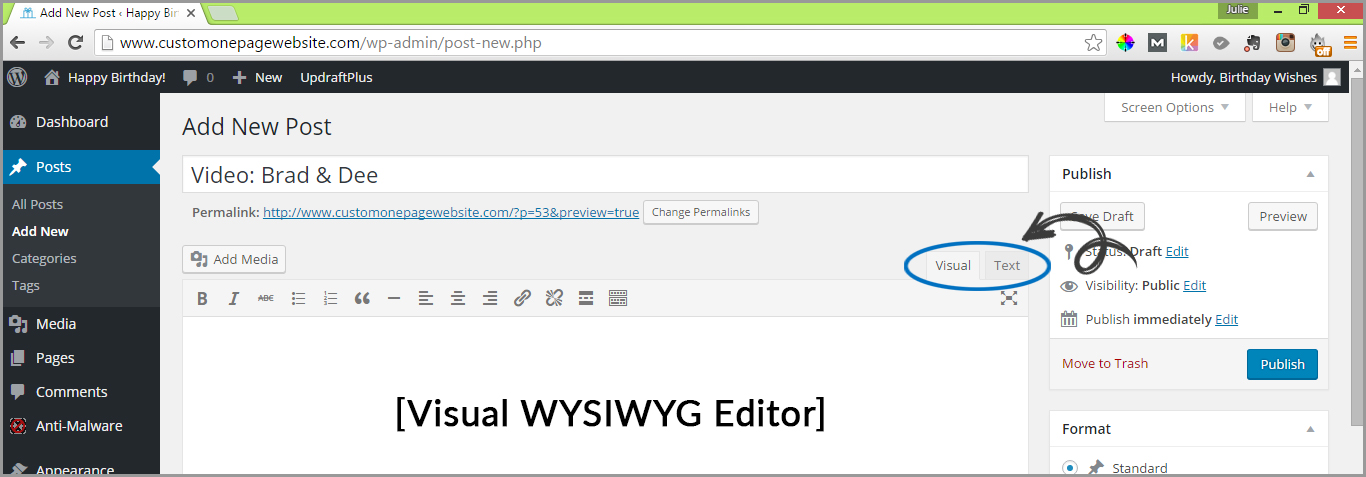
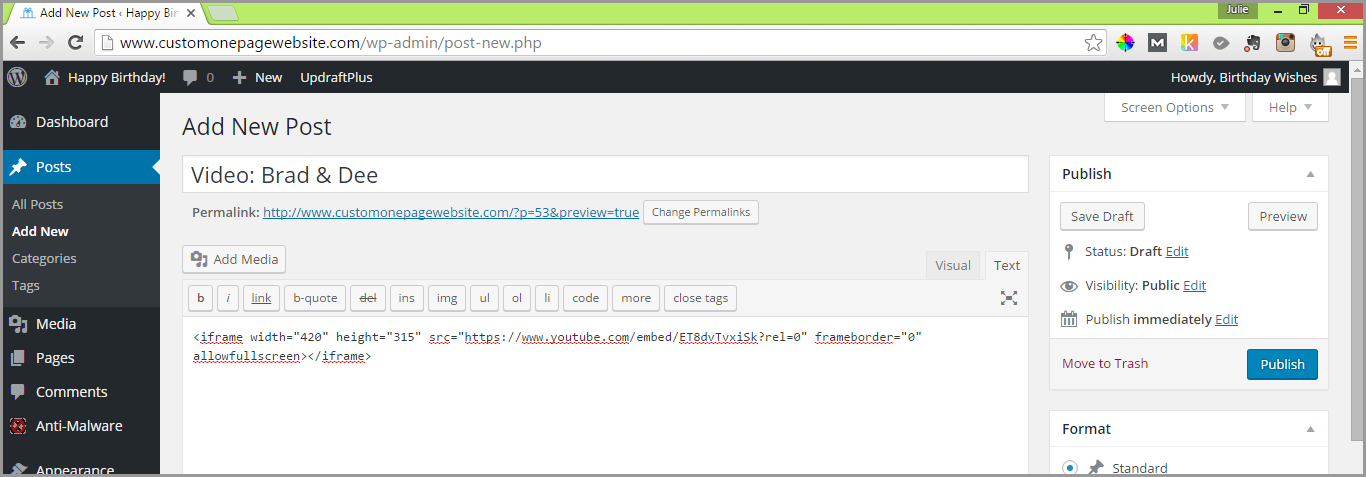
The “Text” tab is where you can view and write/paste code. We need to paste the link we just copied from YouTube into the Text editor, so click on the “Text” tab. Your editor should now look like this:
Click inside the editor and paste the link you copied earlier by holding CTRL while you press down on the letter ‘v’ at the same time.
Once you’ve pasted in the embedded link, click on the “Visual” tab of the editor. Now you can see the placement of the video.
If you haven’t already added text and want to add a description that accompanies your video, simply click to either side of the video placeholder (before if you would like the text above and after if you would like the text below) and hit enter to create space (a paragraph) between the text and video.
4. RIGHT HAND POST SIDEBAR SETTINGS: We’ll come back to the “Publish” section of the page. Let’s look at the other settings on the right hand side.
We won’t delve into the “Format” section as it’s not applicable with the Zerif Lite You can leave all posts with the “Standard” default setting. Other themes may have special formatting in place for the options presented here.
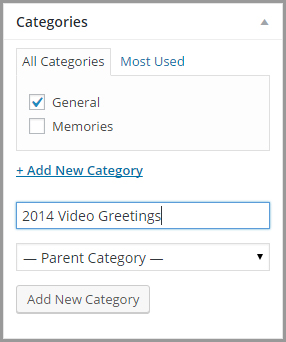
Scroll down to the “Categories” section. I want to add a new category and call it “2014 Video Greetings” as this is video from last year that I’d like Mom to always have access to. To add a new category simply click on the “+ Add New Category” link and enter a category name in the text field. Click on the “Add New Category” button to make it official.
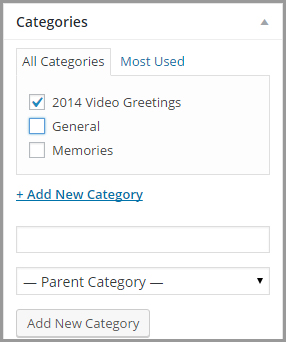
You’ll see that “2014 Video Greetings” has appeared as a new category and is checked. I’m going to uncheck “General” as I only want the post to be displayed under one category.
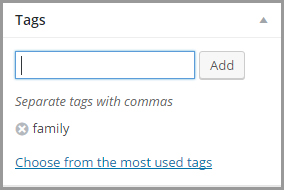
“Tags” are similar to “Categories”, but they are generally used to describe your post in more detail. So I’m going to add a tag that says “family”, by simply typing it into the field under the “Tags” heading and clicking the “Add” button.
This is the result:
Now we need to add a feature image. This is what will be displayed on our main page with the lead in to the post, so I’ve taken a screen snap of the video and cropped it (242 x 242 pixels). To add your image, click on the “Set featured image” under the “Featured Image” heading at the bottom of the post page. Again, you’ll recognize the upload media area where you can upload an image of your choosing.
My featured image looks like this:

Once you’ve added the “Featured Image” and are happy with the content of your post it’s time to publish it! Simply scroll back up to the “Publish” editing area and hit the blue “Publish” button.
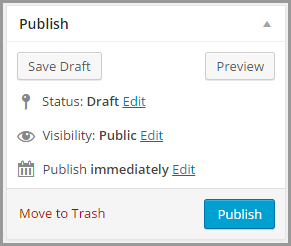
Note that before publishing live you are able to save a draft and preview your post (will open in new window).
The published date effects the listing positioning of the post. So if you want to bump a post up so that it’s displayed as one of the lead ins on the main page then simply change the publish date to today’s date. You can do this by clicking on the “Edit” link, next to “Published on:”; then hit “OK” and “Update”.

Once you’ve completed your first post, go to the top left of the Dashboard and mouse over the name of your site (next to the house icon). A drop menu will appear that says “Visit Site”. Click on this link to be taken to your webpage.
(Note that the “Preview Changes” button will take you to the full post so you can see what it looks like in the site framework.)
Now, if you scroll down to the bottom of your webpage you’ll see your first post lead alongside the default post!
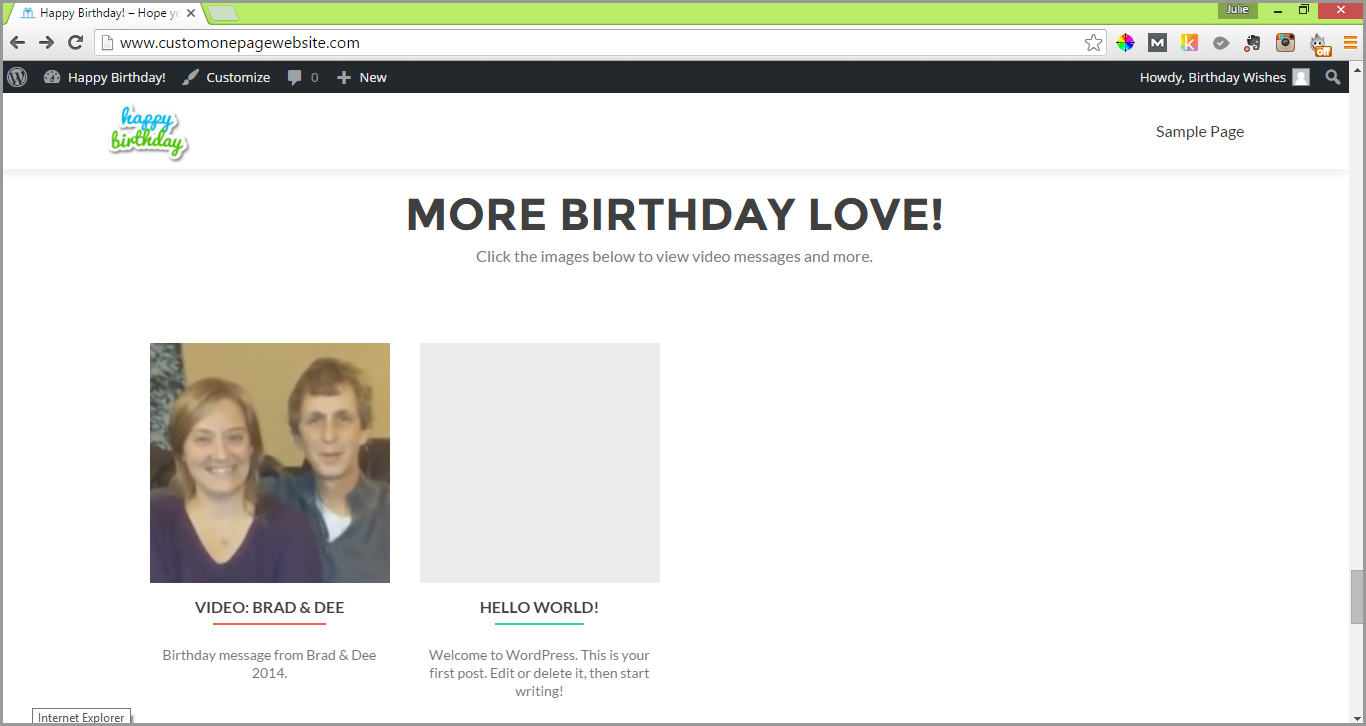
And if you click on it, you’ll be taken to the full post.
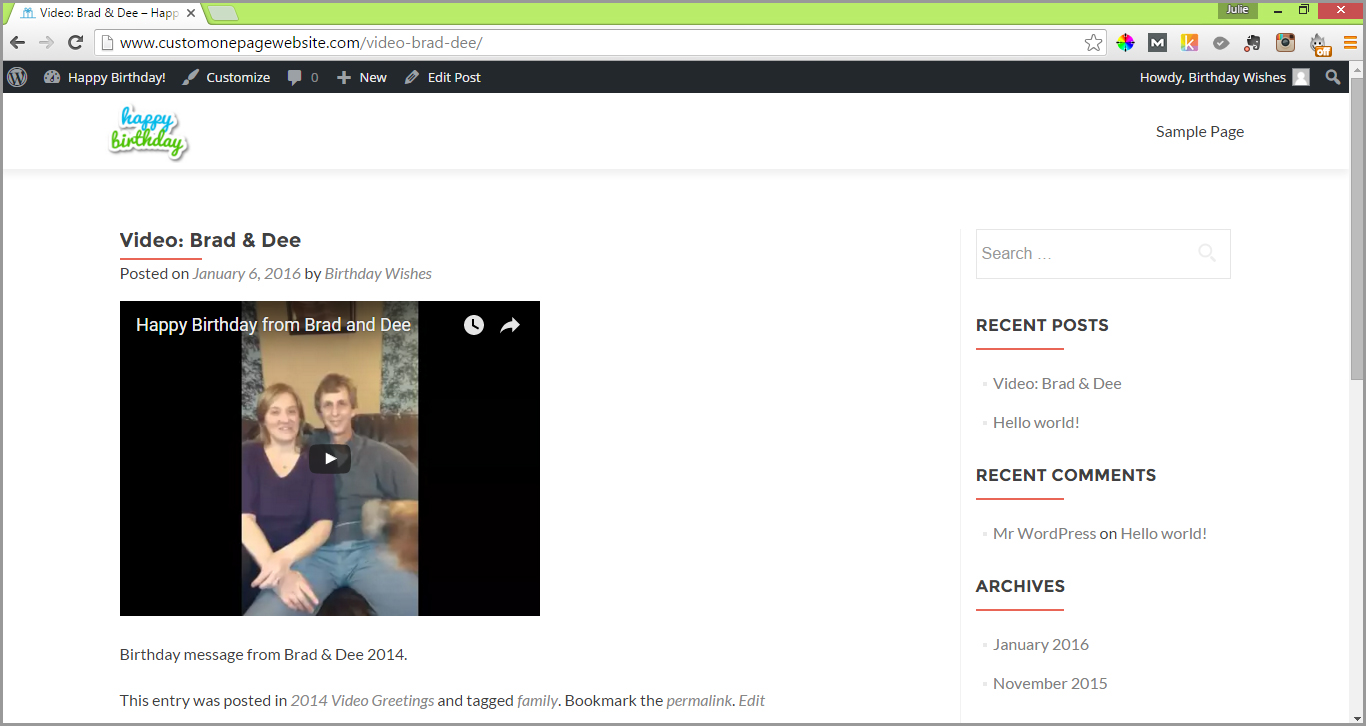
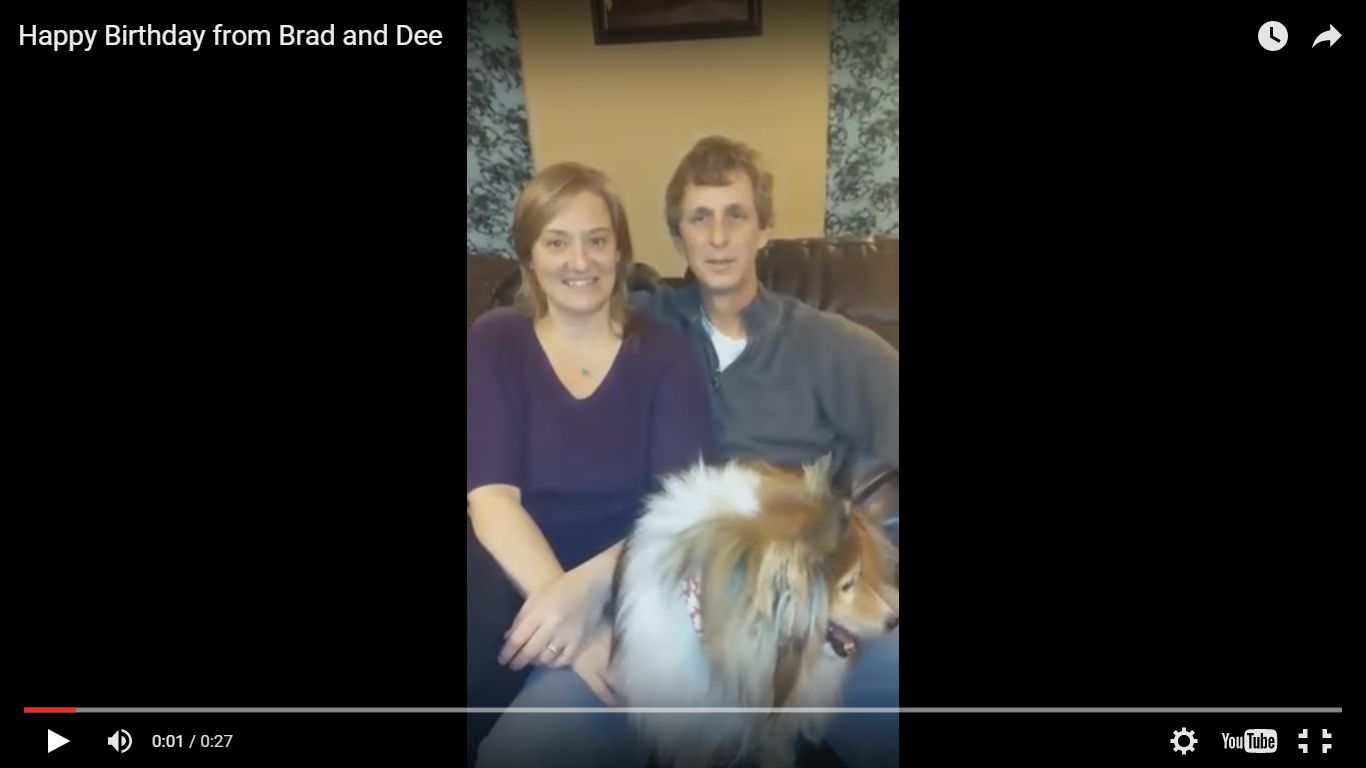
NOTE: Once the play button is clicked on in the video the viewer can modify the display to full screen viewing mode.
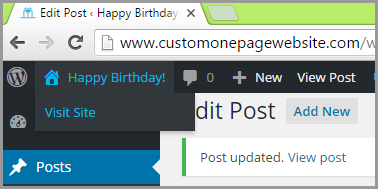
5. EDITING A POST: If you want to make changes to a post that you’re viewing you can simply click on the “Edit Post” link in the black bar at the top of the screen and you’ll be transported back to the editor.
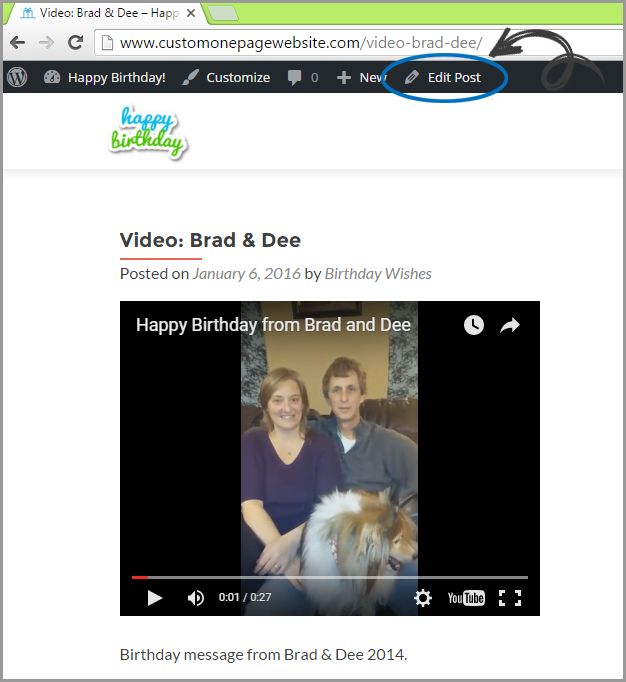
Just a reminder that anyone viewing the site outside of the administrative area will NOT see the top black bar area.
Now that you know how to add a post, add a few more and surprise someone with moments that make them smile and want to revisit over and over!
6. DELETING POSTS: If you return to the “Dashboard” (first menu item displayed in the left side menu) you’ll see that in the top “At a Glance” section it tells you the number of Posts, Pages & Comments. We want to delete the default Post (if you haven’t already of your own accord) and the default Page & Comment.
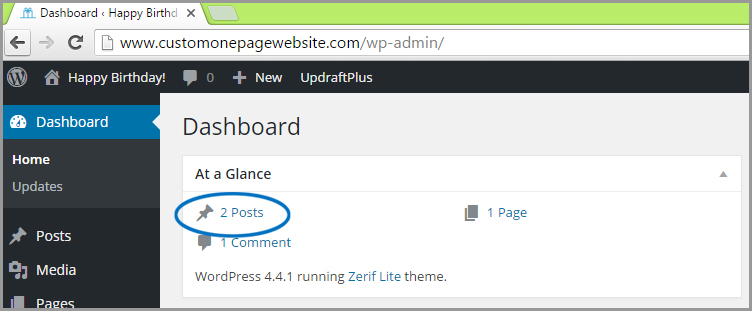
If you click on the “x Posts” link it will take you back to the Post table that lists all the posts. Let’s delete the default post that says “Hello world!” simply by moving the mouse over its name and then clicking on the “Trash” link.

The comment that was in the system was about the “Hello world” post so it has automatically been trashed along with the post. If you return to the “Dashboard” you’ll see that the number of posts is one less and the “Comments” have disappeared.

Now click on the “1 Page” link. This will take you to a similar table as that of Posts. The difference is that pages don’t have Categories or Tags as they are considered static. You may recognize the “Sample Page” title, as this is what is currently appearing in the top right of your webpage as a menu item.

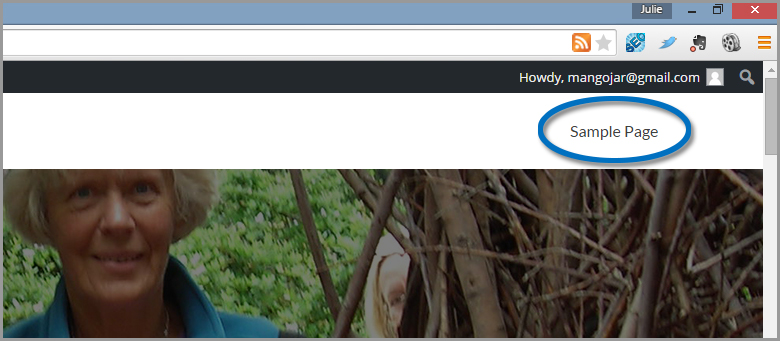
We don’t need a page for our purposes, so you can go ahead and delete the “Sample Page” from the “Pages” table. Do so by moving your mouse over “Sample Page” and from the menu that pops up click on the “Trash” button. Now if you return to the “Visit site” link and click it you will see that the menu item is gone.