
WHY ADD A WORDPRESS MENU TO A ONE PAGE SITE?
It makes for easy navigating to the page sections, particularly on return visits to check out new posts at the bottom of the page.
HOW DIFFICULT ARE MENU’S TO BUILD?
They aren’t! At least not with a little help! 😛
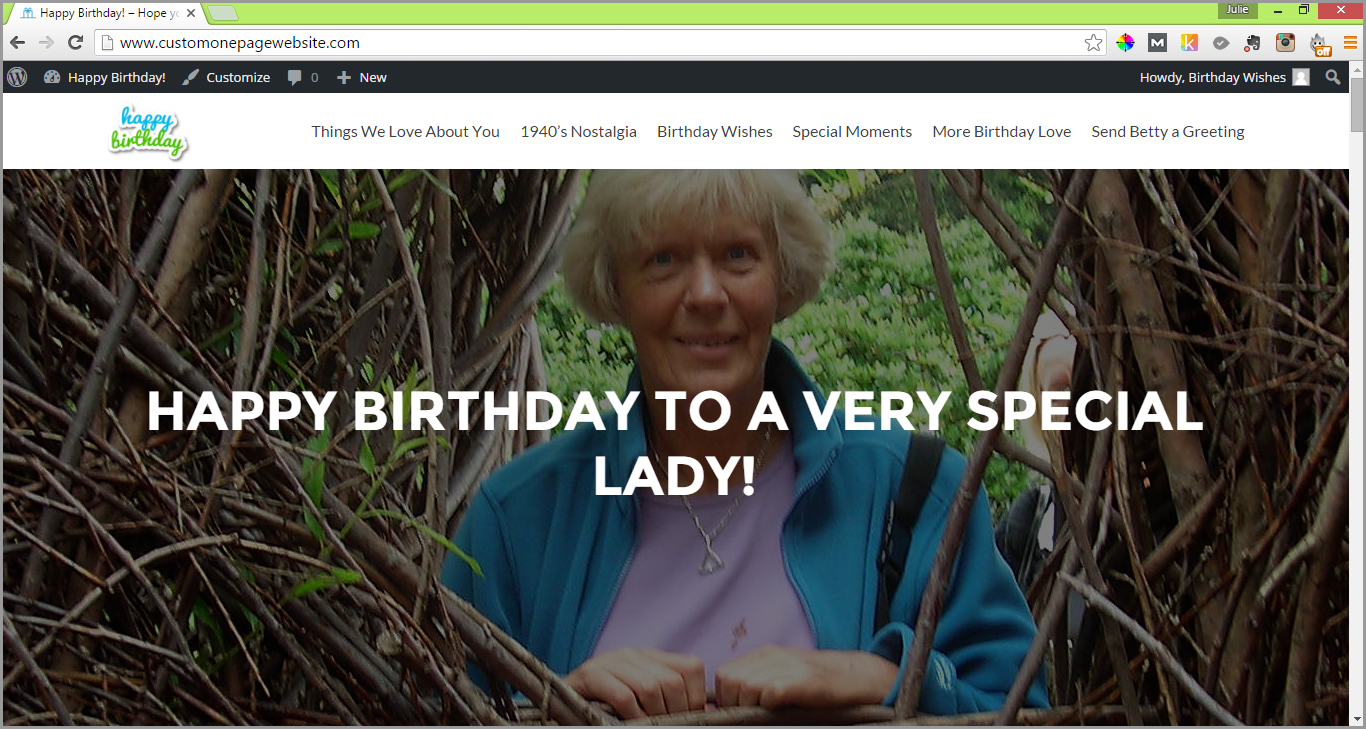
The Zerif Lite theme supports one menu which will run along the top of the site to the right of the site logo.
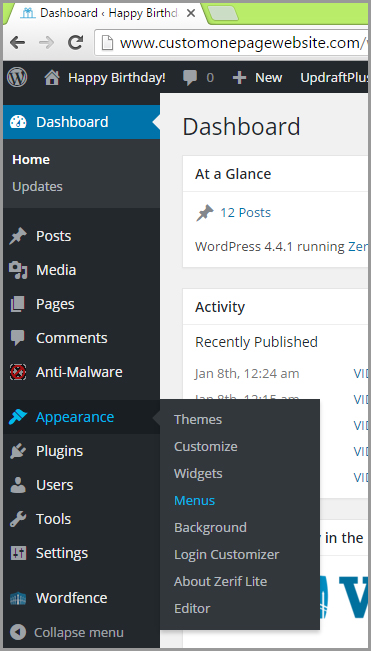
1. From the Dashboard, mouse over “Appearance” and select “Menus”.
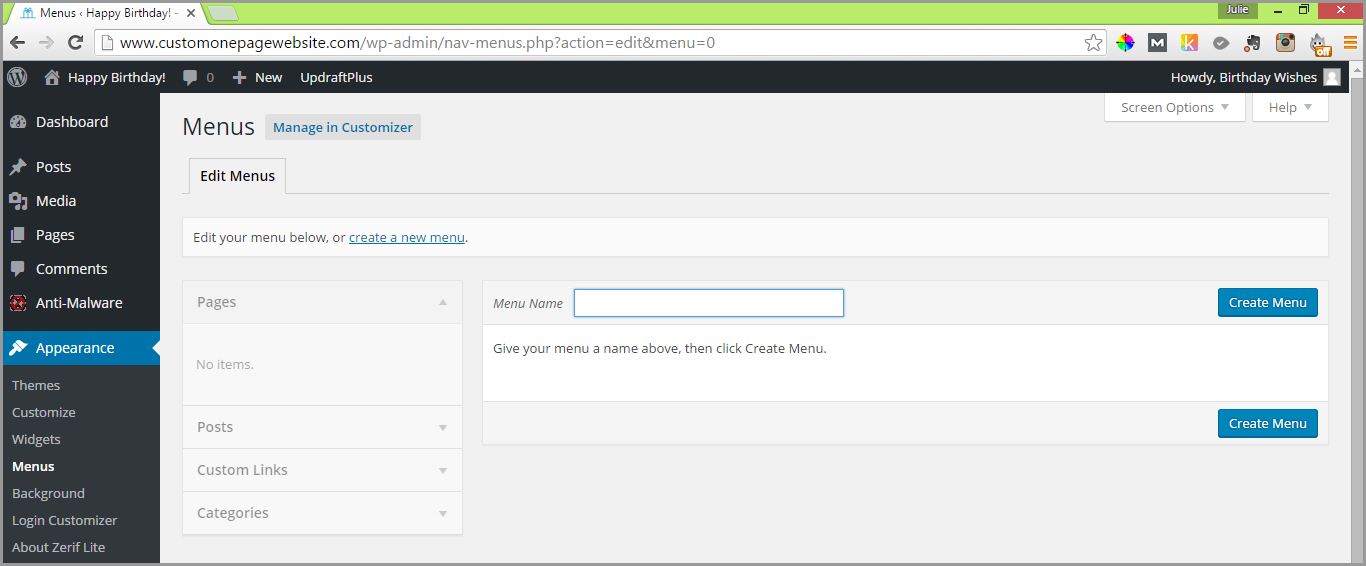
We need to give our menu a name. I’m going to call it “Birthday Sections”, then click the blue “Create Menu” button.
Now we need to check the “Theme locations” box beside “Primary Menu”, then click the down arrow next to “Custom Links” (to the left of “Menu Structure”) to expand its field options.
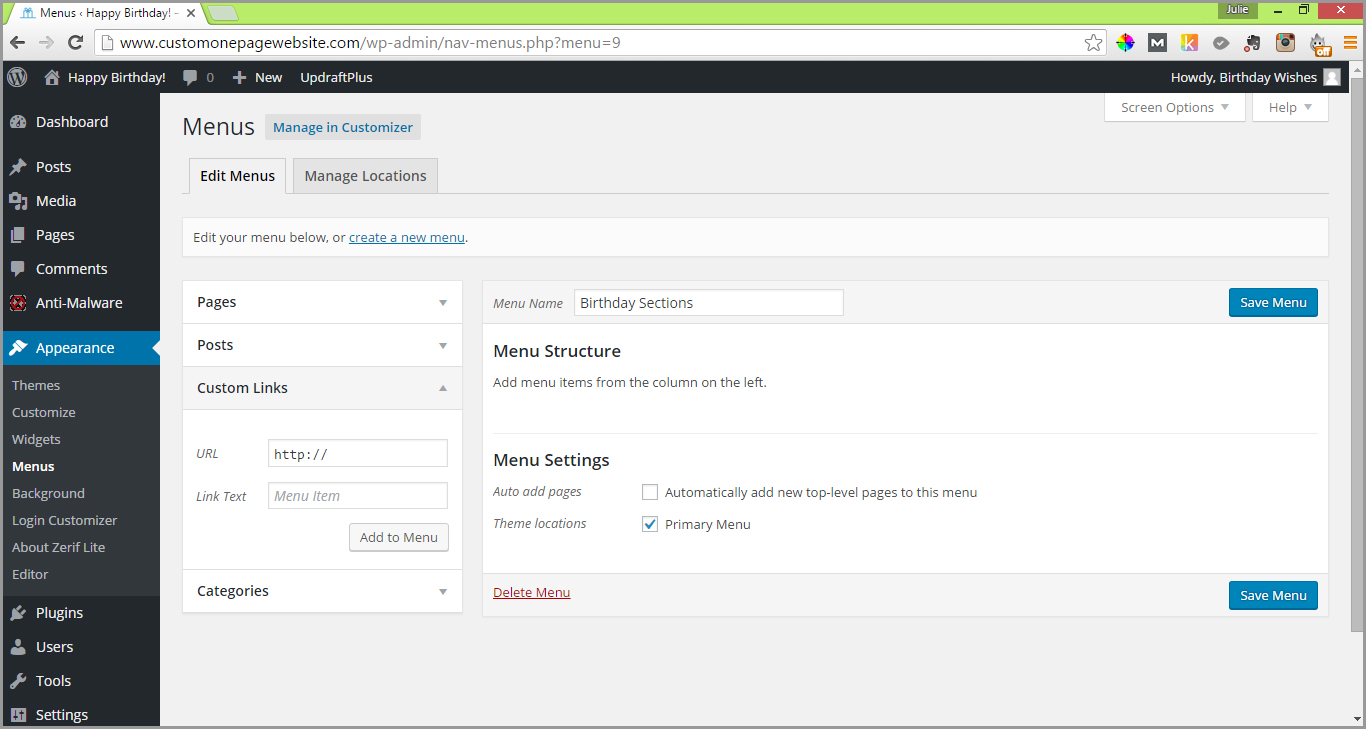
The first menu link will be for the “Our focus section” which we gave the heading “THINGS WE LOVE ABOUT YOU”.
IN THE URL: FIELD: add the core site domain (i.e www. com/) and right after it add the following ANCHOR > #focus. So the complete URL is http://www.yourdomain.com/#focus
IN THE LINK TEXT FIELD: Type whatever you made your heading for this section. So in my example it’s “Things We Love About You”.
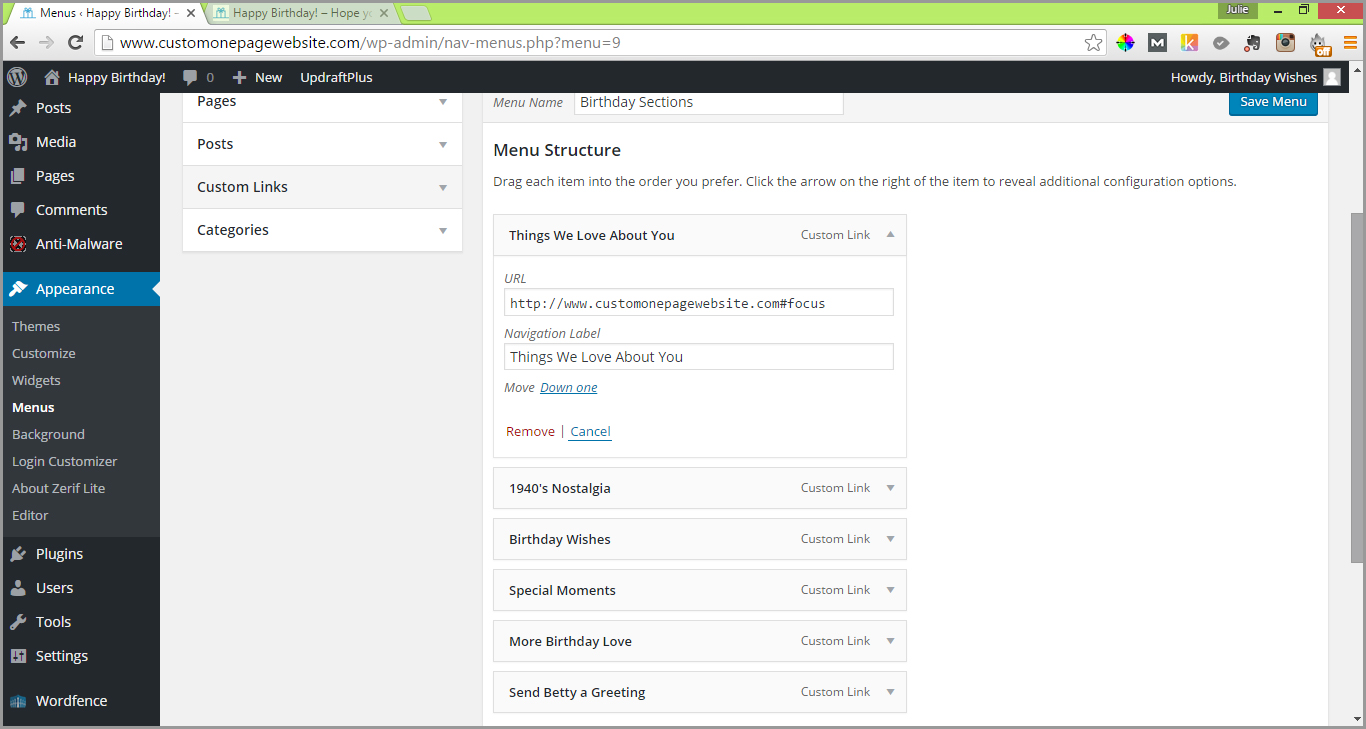
Click the grey “Add to Menu” button, then click the blue “SAVE MENU” button.
Click on the down arrow to expand “Custom Links” again and this time add the URL (i.e. www.yourdomain.com/) along with the ANCHOR for the “About us section” (SEE ANCHOR LIST BELOW i.e. #aboutus). Then add the applicable heading in the LINK TEXT field (NOTE: I used, “1940’s Nostalgia” instead of “A LONG, LONG, TIME AGO IN 1940…” as the latter was too long for a menu label).
Click the grey “Add to Menu” button, then click the blue “SAVE MENU” button.
Repeat the same process for each section. The ANCHOR’s are as follows:
- #focus for the “Our Focus” section
- #aboutus for the “About us” section
- #team for the “Our team” section
- #testimonials for the “Testimonials” section
- #contact for the “Get in touch” section
- #latestnews for the “Latest News” section
Once you’ve added all the items, view the menu on your site by clicking the HOME ICON in the top left and selecting “Visit Site” from the drop menu that appears.
You’ve done it! Congratulations! You’ve built a beautiful, personal website for someone very special that can be expanded and treasured. In addition you’ve learnt some new skills in the process that you can further develop to create other websites – for yourself; and if you have entrepreneurial spirit, future clients!
I would love to hear your feedback on whether you have enjoyed this e-Course. If there’s anything you think could improve this guide and/or if there are other courses you would like to have presented in this step by step manner, please contact us.
In the next section I’ve put together some resources that will be of value to you in expanding your web design toolkit!