
SAY WHAT?
Don’t let the word ‘CONFIGURING’ intimidate you! We’re just going to clean up the interface so that is a little easier to work with and take a look at the General WordPress settings.
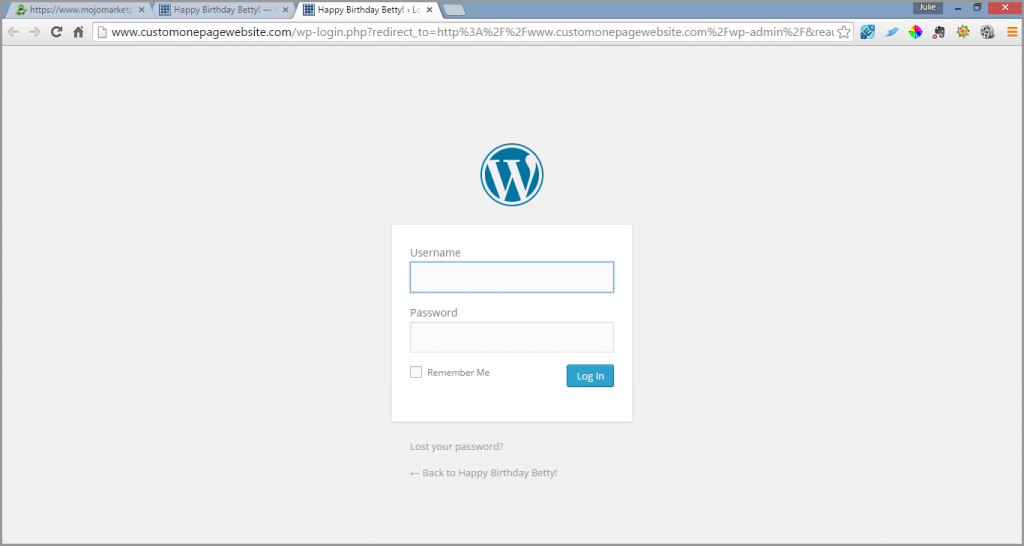
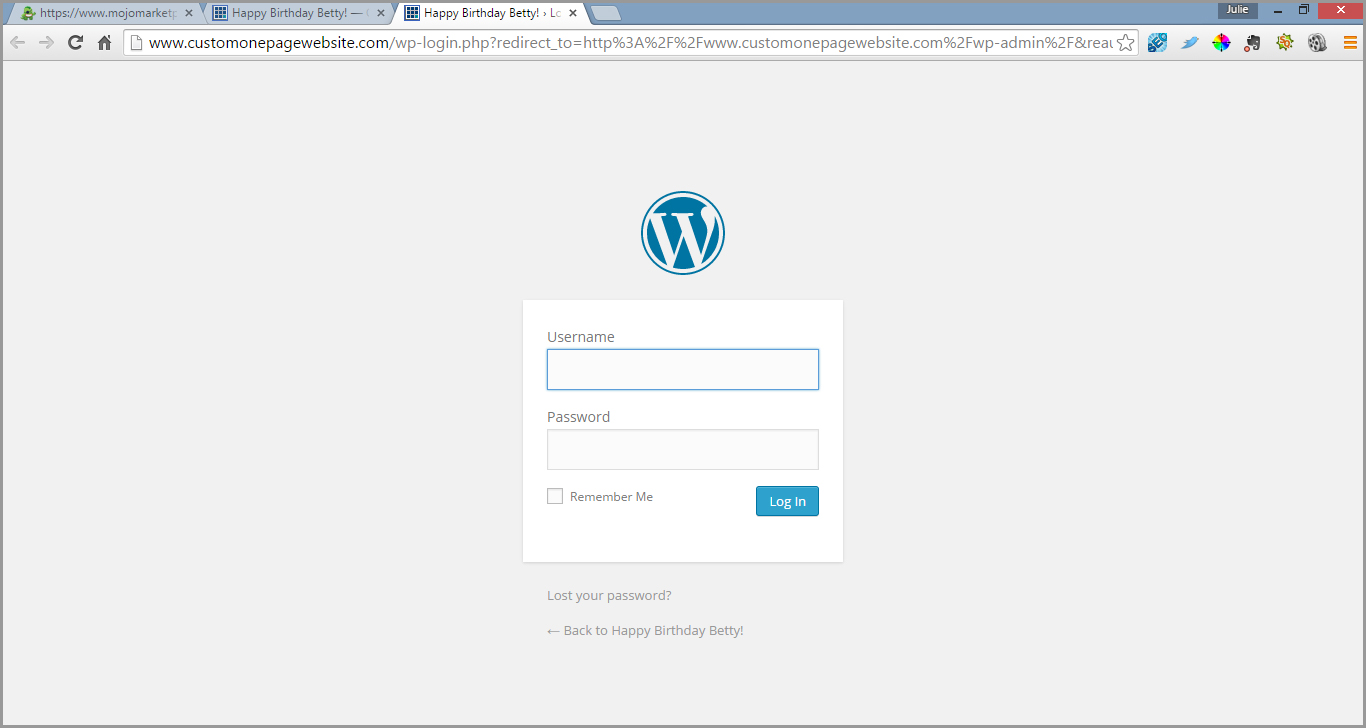
- Log in to your WordPress site Admin if you haven’t already done so (i.e. http://www.yourdomain.com/wp-admin/).
Once you’ve logged in, you’ll be taken to the WordPress “Dashboard”. This is what your screen should look like: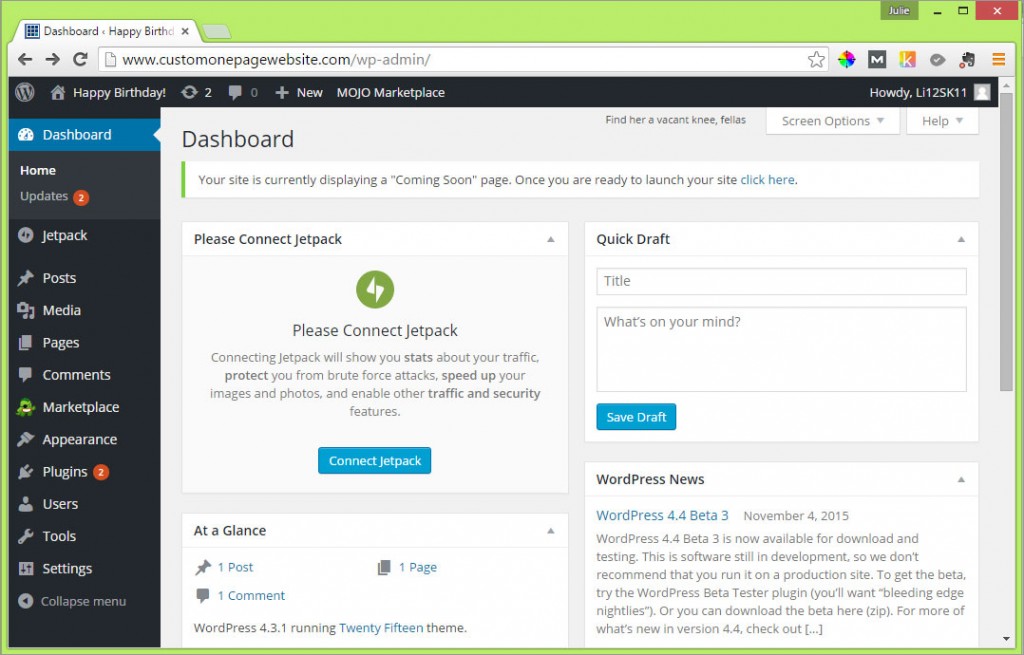

- Look down the left side menu until you see the word “Plugins” and click on it. Plugins are ways to extend the features and functionality of WordPress. Like WordPress themes, there are both free and premium (paid for) plugins. You do need to take care with the plugins that you install as some come with security risks.There are 4 plugins that have been pre-installed (NOTE: This applies if you’ve installed WordPress with Bluehost. If you are using a different hosting company then you may have different plugins installed). They are Akismet, Hello Dolly, Jetpack by WordPress.com and MOJO Marketplace. We don’t need them. So we’re going to deactivate and delete them and start with a fresh slate. To do so, simply check the “Plugin” checkbox in the first column. This will select all of the Plugins at once.
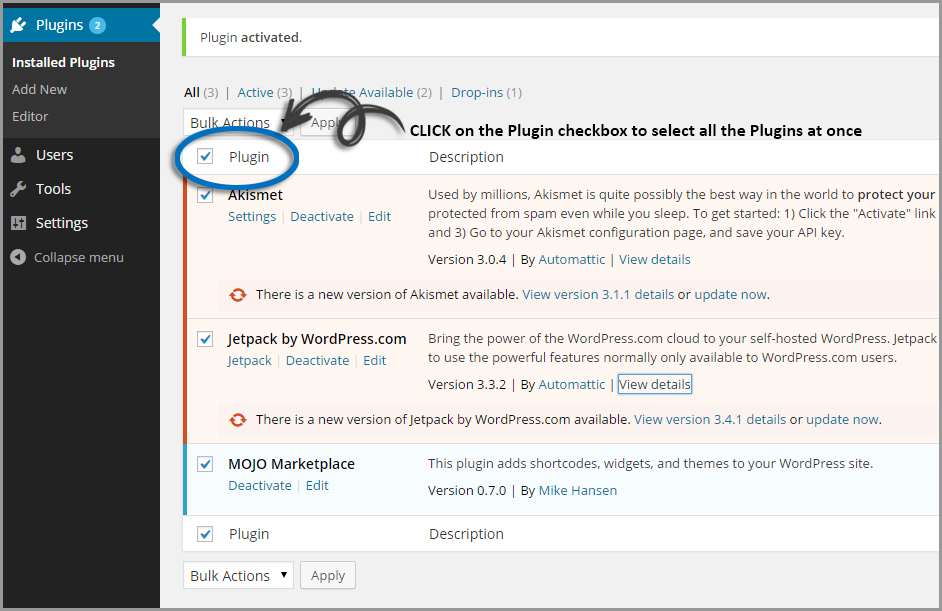
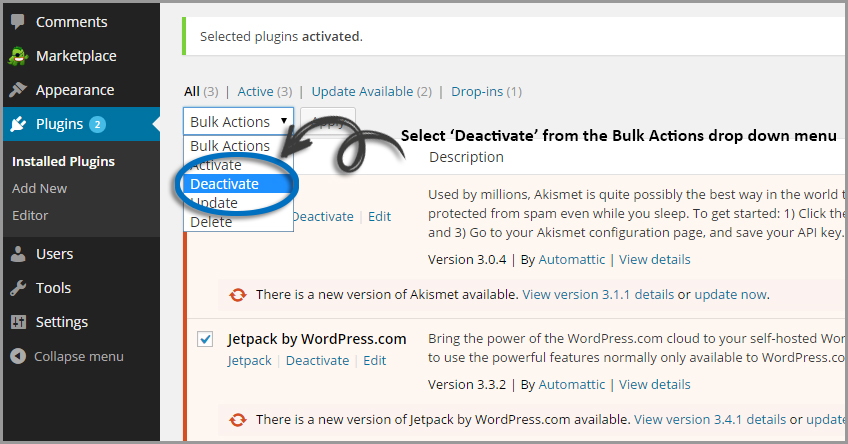
Then from the “Bulk Actions” drop down menu that is directly above the “Plugin” checkbox, select “Deactivate” and hit “Apply”. You have to deactivate the plugins before WordPress will allow you to delete them.
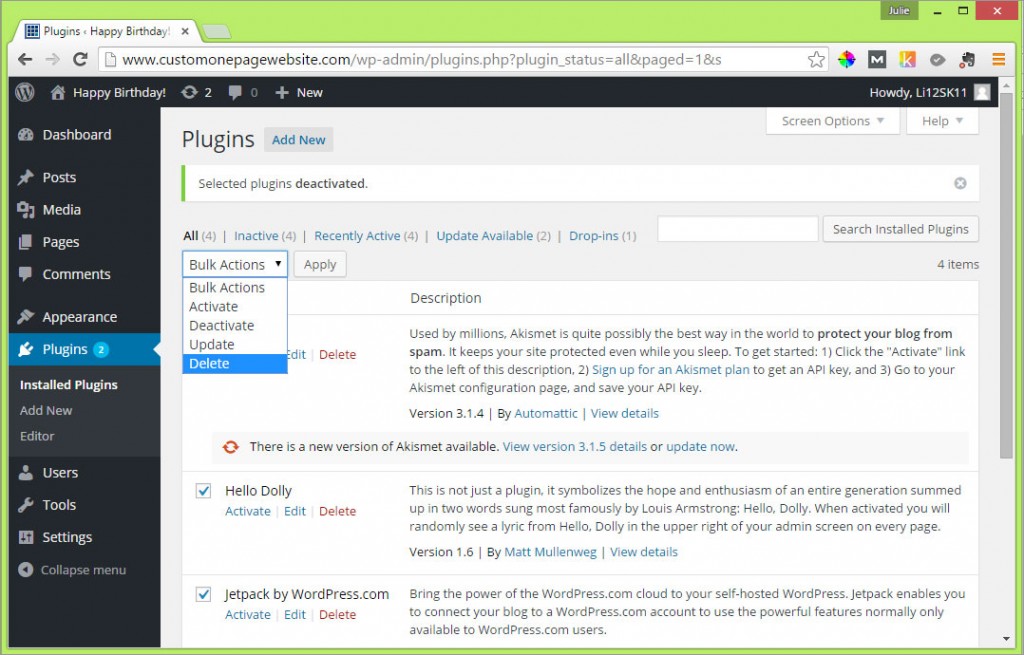
 Once all the plugins have been deactivated, you’ll have to click the “Plugins” checkbox once again to select them all once more. Then, from the “Bulk Actions” drop down menu select “Delete” and hit “Apply”.
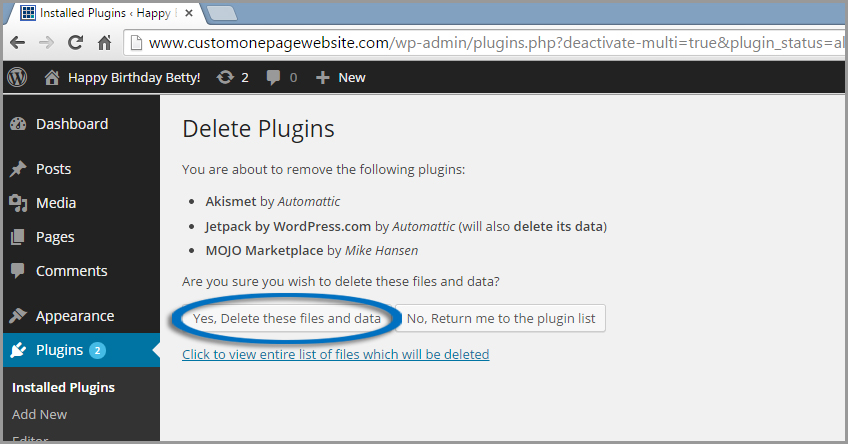
You will be taken to a screen asking you to confirm that you wish to delete the plugins. Click on the button that says “Yes, Delete these files and data”.
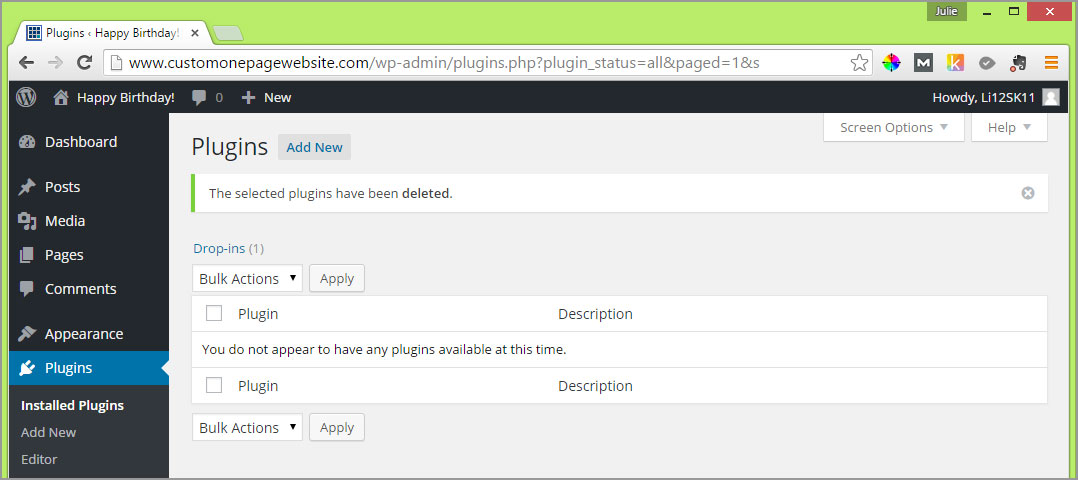
Your plugins directory should now be empty.


- Navigate down the left side menu and click on “Settings”. This will take you to the “General Settings” of your WordPress site:
.
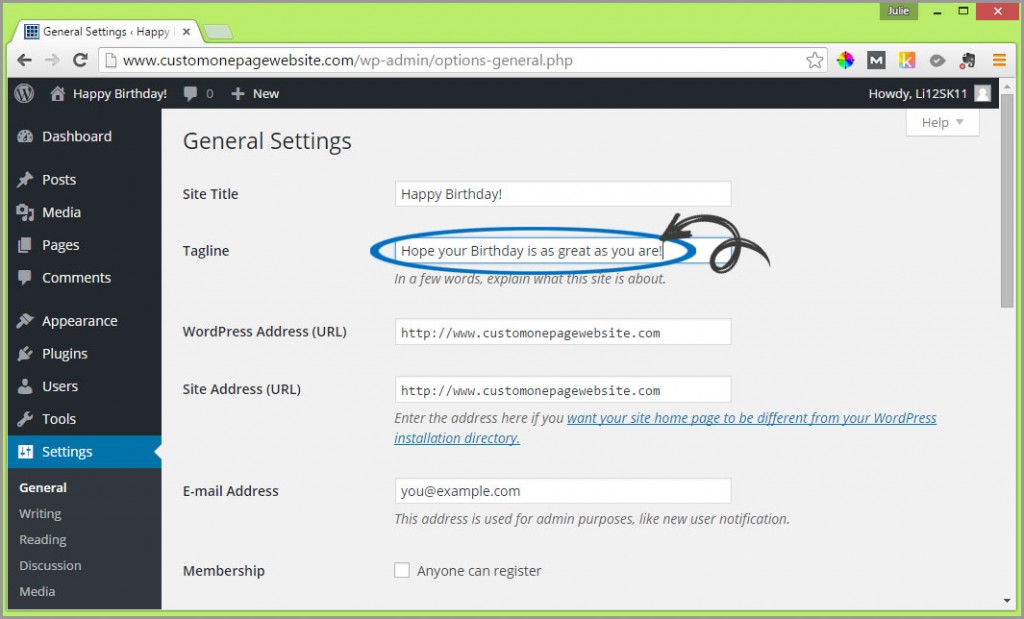
- The first field is the “Site Title”. You entered this in the advanced options when you set up the install. If you would like to change the title, you can do so here. The “Site Title” is important if you want your site to appear in the first page of Google’s search results. SEO and keyword strategy are outside the scope of this guide as you don’t need a Special Occasion website to be searchable given you’ll likely only be sharing the link with the recipient, their friends and family.

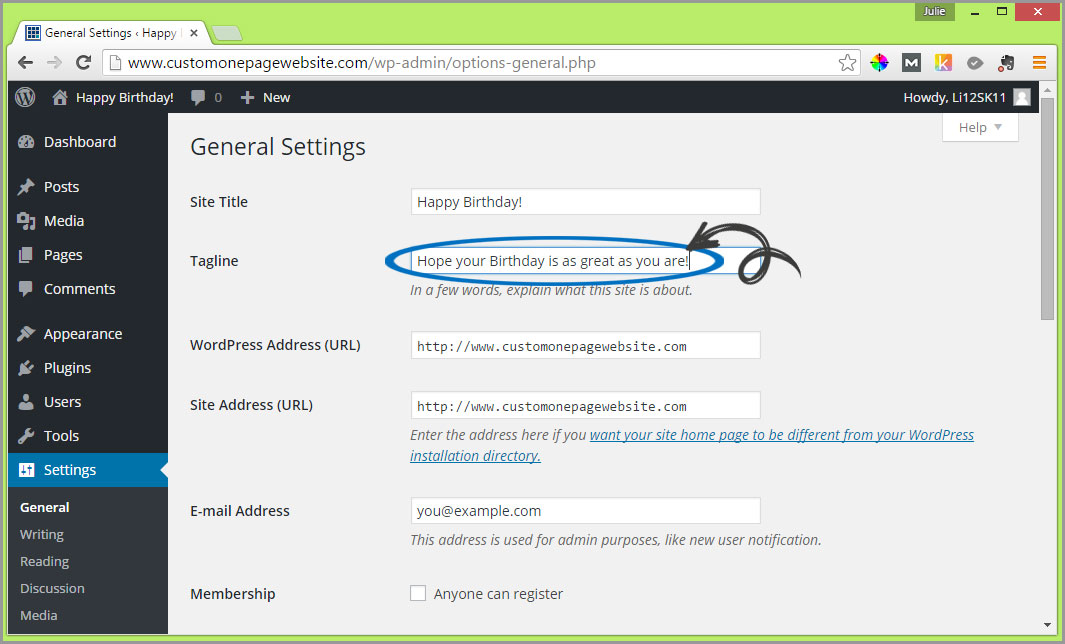
- The second field is for the “Tagline”. Some WordPress themes incorporate the site Tagline into their header. It also appears in search results so rather than have the default “just another WordPress site” appear, recommend changing this to something along the lines of “Hope your Birthday is as great as you are!” or something personal to the recipient.
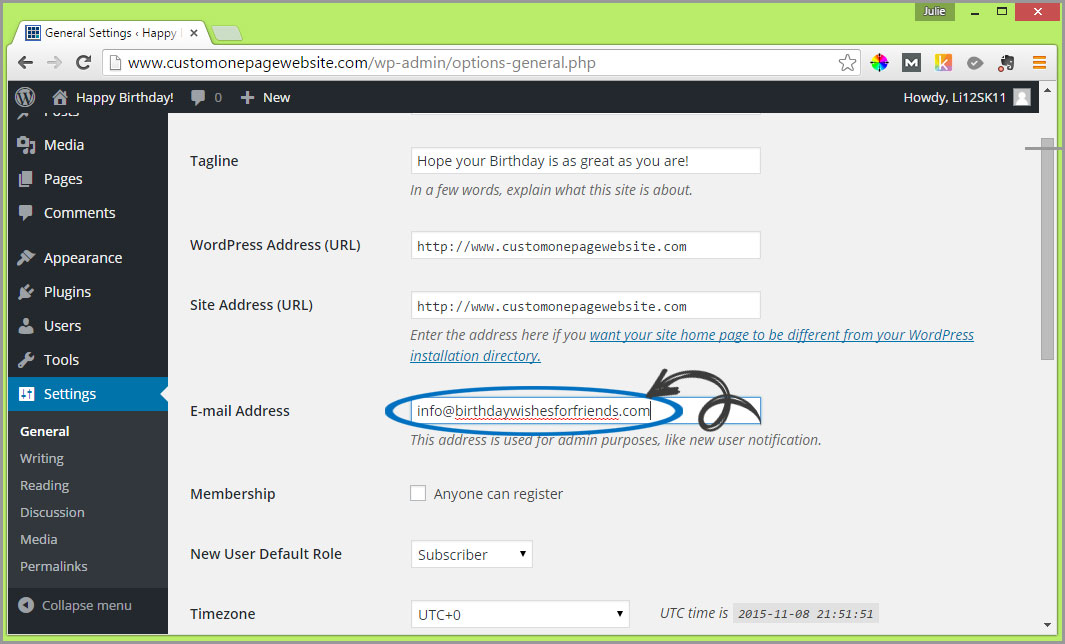
- Change the “E-mail Address” field to the email you wish to receive notifications at.

- Modify the “Timezone” setting so that it reflects the time zone that you are in. The time and date are noted whenever you publish a post (NOTE: Scroll UP the drop down menu to find the city closest to your location).
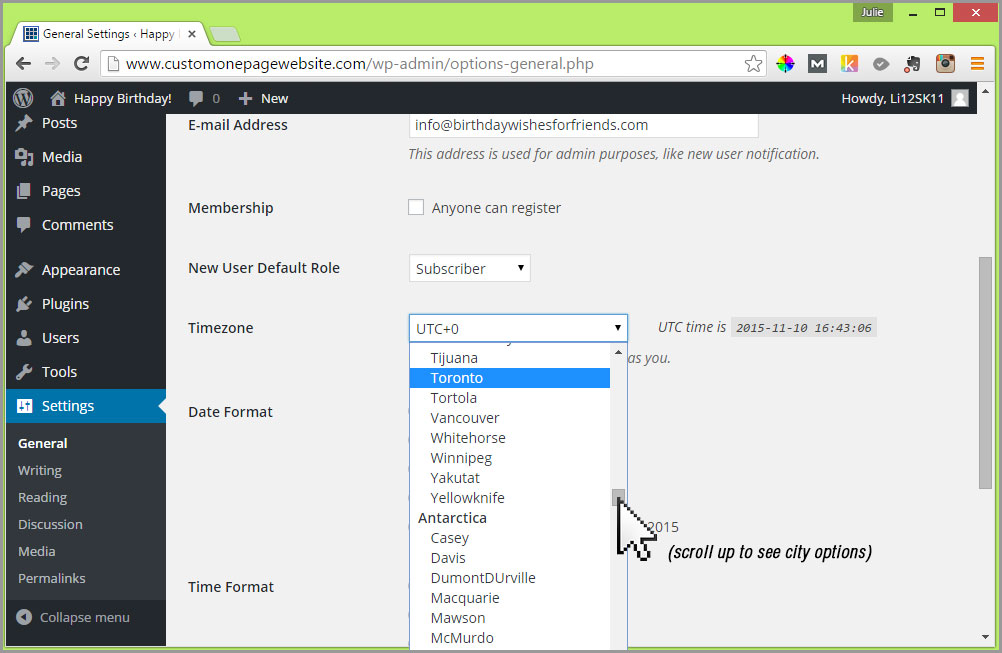
- Choose your preferred “Date Format” and “Time Format”.
- If the site is to be published in a language other than English, select the language from the “Site Language” drop menu.
- IMPORTANT: Make sure you click the blue “Save Changes” button or everything you just did will be lost!

- The first field is the “Site Title”. You entered this in the advanced options when you set up the install. If you would like to change the title, you can do so here. The “Site Title” is important if you want your site to appear in the first page of Google’s search results. SEO and keyword strategy are outside the scope of this guide as you don’t need a Special Occasion website to be searchable given you’ll likely only be sharing the link with the recipient, their friends and family.
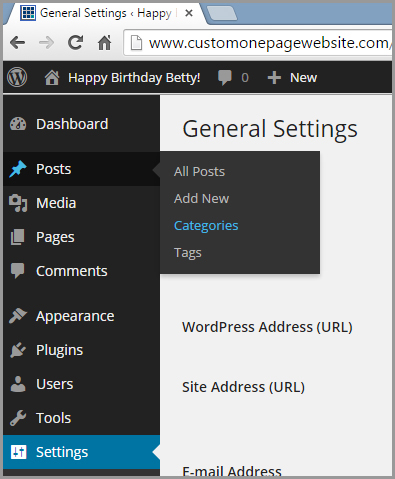
- We’re going to create a “Post Category”.
- In the left side menu, navigate to “Posts” and from the sub menu that appears, select “Categories”.
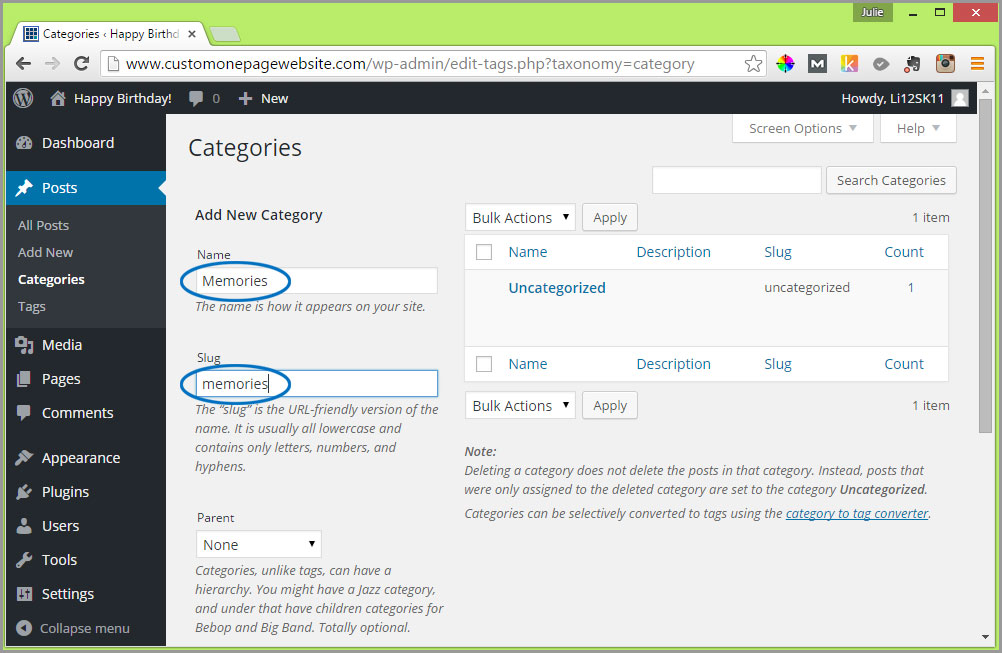
- In the “Add New Category: Name” field, type “Memories”. This will be the default category for posts.
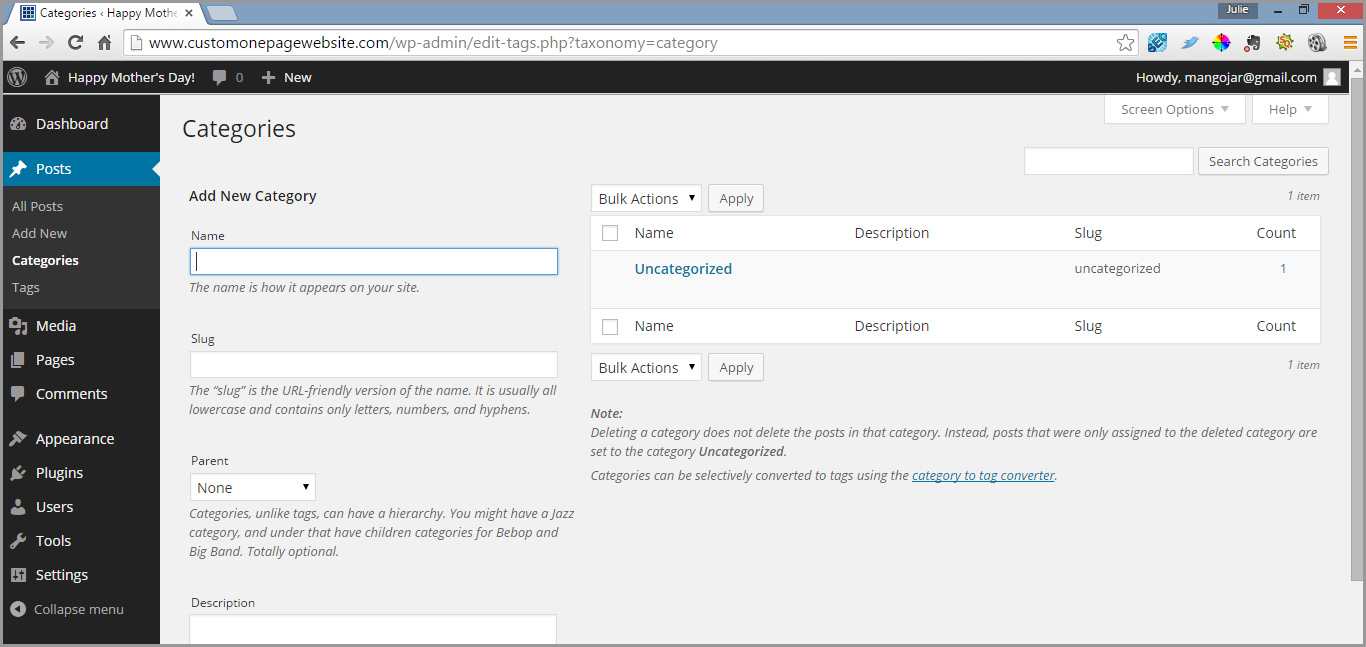
- In the “Add New Category: Slug” field, type “memories” (all lowercase).
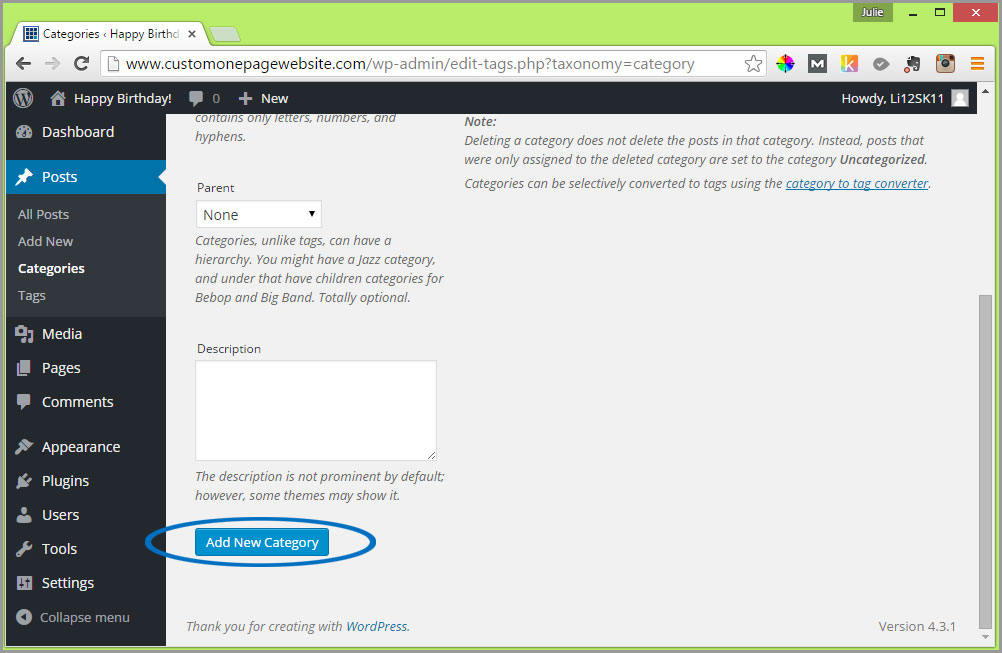
- Once you’ve done this, scroll to the bottom and click on the blue “Add New Category” button.You’ll see that ‘Memories’ now appears in the table on the right. The reason we’ve created this is so when you add a post, it won’t display as “Uncategorized”.
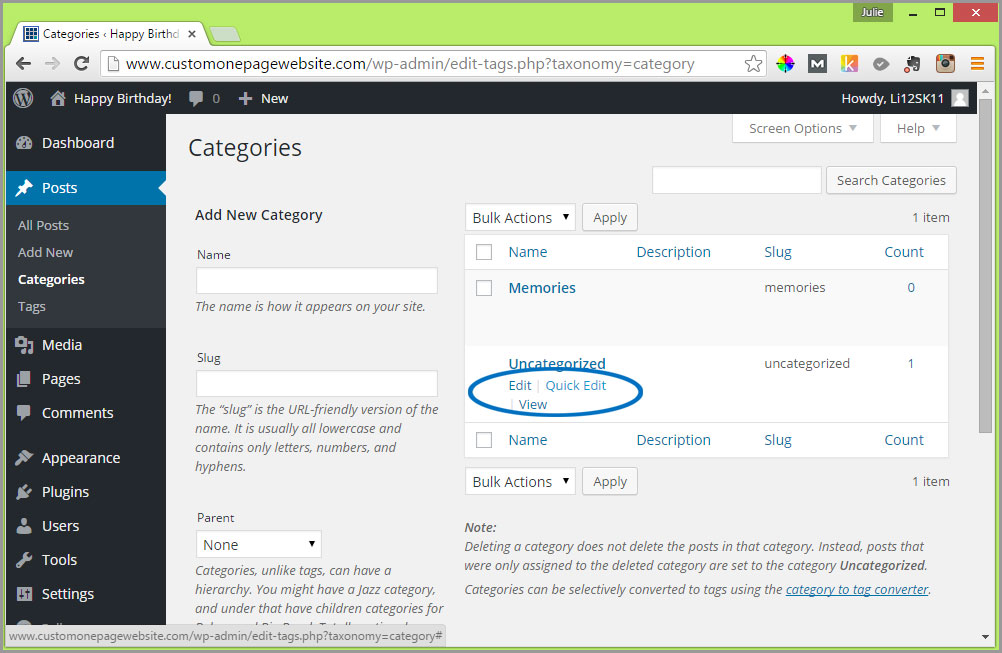
While we’re here, let’s change the “Uncategorized” label to “General”. If you move your mouse to hover over the “Uncategorized” link, you’ll see additional links appear under it that say “Edit | Quick Edit | View”.
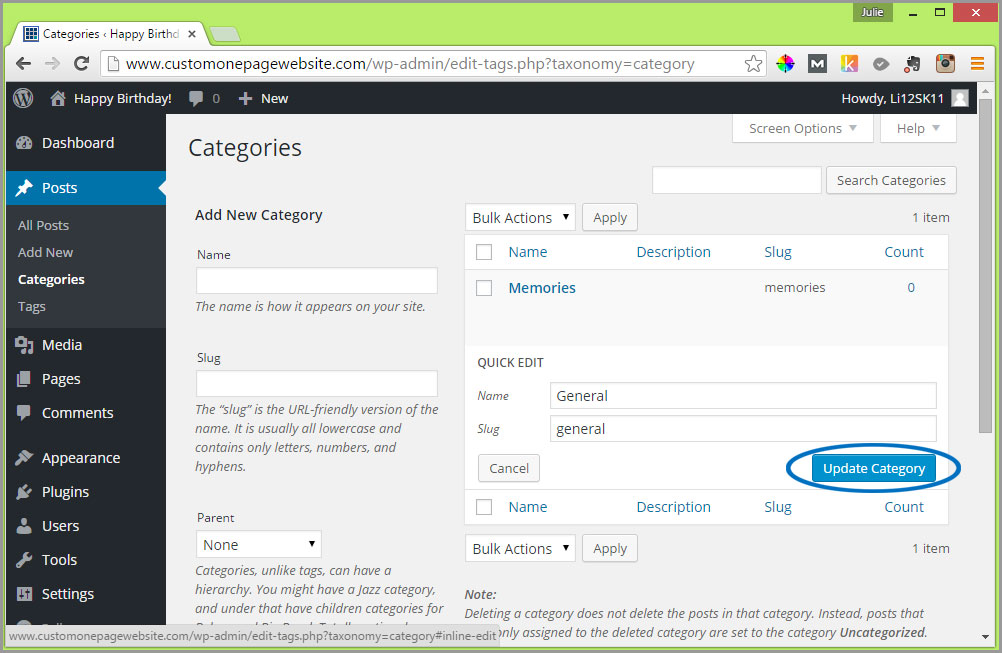
 Simply click on “Quick Edit”; change the “Name” and the “Slug” both to “General” (all lower case for the slug) and click on the blue “Update Category” button to save.
Categories are a useful tool when searching for archived blog posts. They are also important from a search engine optimization perspective if you decide to build and monetize a blog.
- In the left side menu, navigate to “Posts” and from the sub menu that appears, select “Categories”.


-
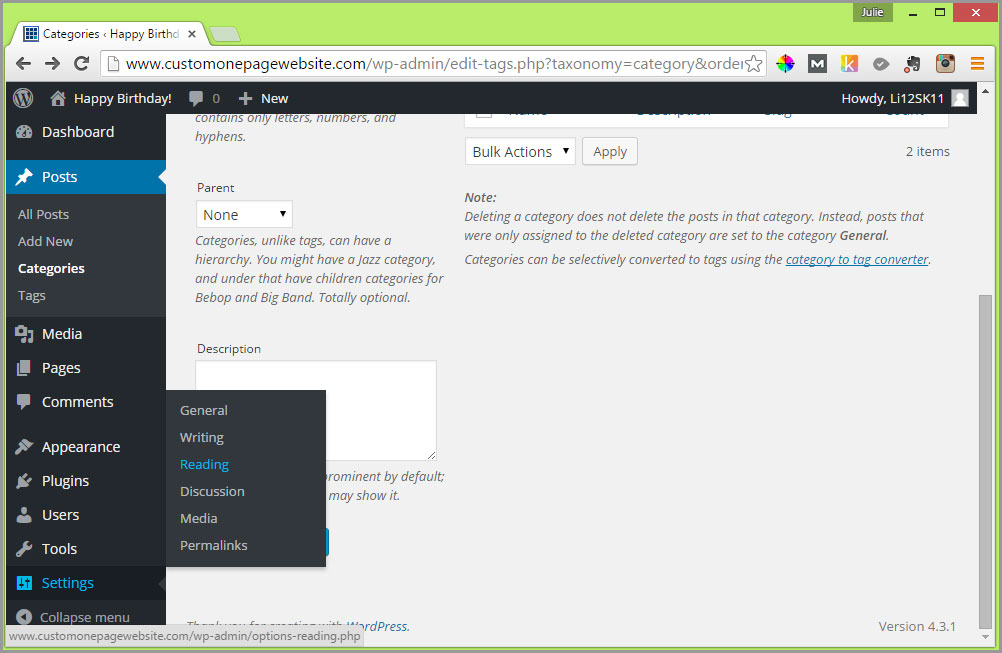
- Now choose “Reading” from the sub menu under “Settings” in the left side menu.
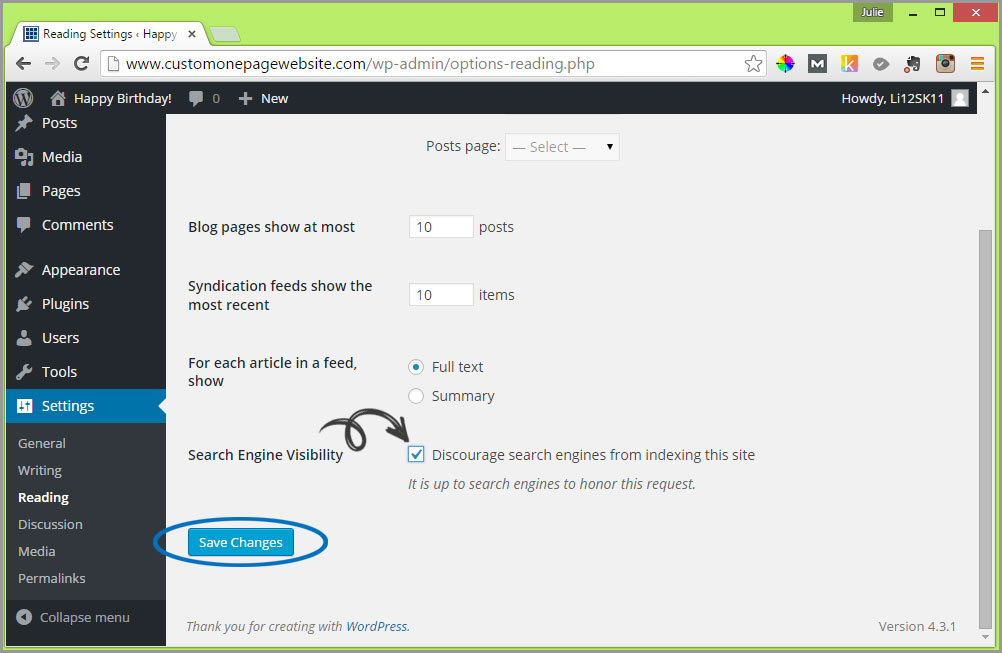
- Given we are creating a personal Birthday website you may decide that you’d like to keep it from being listed in the Search Engines. Checking the box beside “Search Engine Visibility” will add code that tells the search engines you don’t want to show up in search results. Don’t forget to hit the blue “Save Changes” button afterwards if you do check this.
PLEASE NOTE: THERE IS NO GUARANTEE WITH THIS METHOD ALONE THAT THE SITE CONTENT WON’T BE DISPLAYED IN SEARCH ENGINE RESULTS. THERE ARE OTHER WAYS TO PROTECT YOUR SITE CONTENTS FROM PRYING EYES IF YOU WISH, BUT THEY ARE BEYOND THE SCOPE OF THIS E-COURSE.
- Now choose “Reading” from the sub menu under “Settings” in the left side menu.
There is one other optional adjustment you can make to the settings. It’s not imperative for the type of site we are creating, however, if you were to convert the site to a blog you would definitely want to make this change. By default, WordPress uses web addresses that are comprised of numbers and question marks. By changing the default setting to one comprised of the title of your post; aesthetics, usability, search engine optimization and forward-compatibility of your links are all improved.
To make this change, choose “Permalinks” from the sub menu under “Settings” in the left side menu.

Change the selection from the “Default” option to “Post Name” by clicking on the radio button next to it.
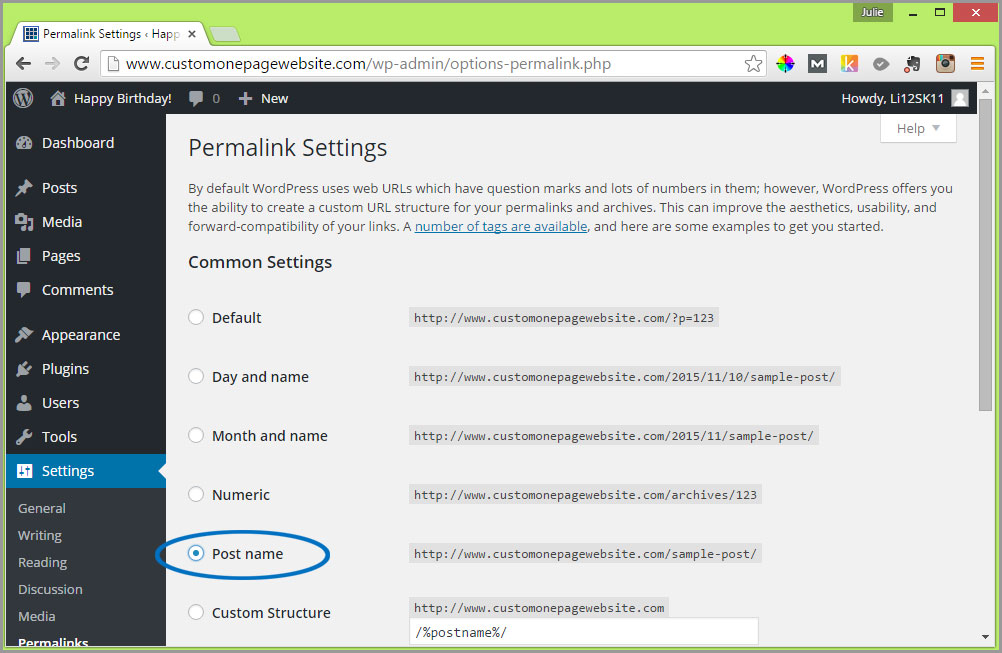
Then scroll down and click on the blue “Save Changes” button.

That’s it for this section!